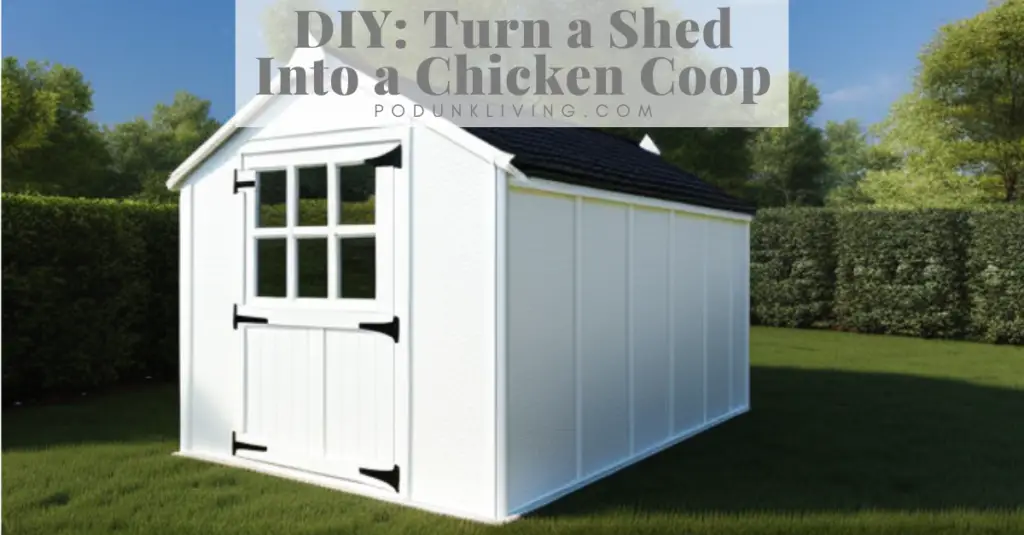
Cheap Large Chicken Coop
One cheap way to build your own large chicken coop, is to look for a used garden shed that you can take home for next to nothing. This is one of our DIY projects that we were able to complete in a weekend. We were given an old wood frame shed for free, which we turned into an insulated chicken coop that will last us for decades. We determined that the building was large enough to accommodate our flock. The minimum square foot recommendation for a chicken coop is 3 to 5 square feet per chicken if they have access to outdoor run space, and 10 square feet of outdoor run space per chicken for those not free-ranged (or for unexpected visits from predators).
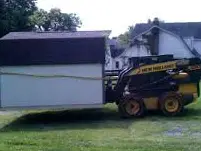
How to Move a Large Chicken Coop Shed
The challenge of this project was to move the shed without destroying it. Luckily, we were able to pick the storage shed up off the cinder blocks with a skid loader, which allowed us to drive it from our neighbor’s yard to our yard. The average weight of a 10 ft x 10 ft shed is approximately 900 pounds, so make appropriate plans to move the shed. Another redneck option is to use some jacks and build a jack stand tall enough to slide a small trailer underneath the shed.
Avoid the Cheap Chicken Coop Kits
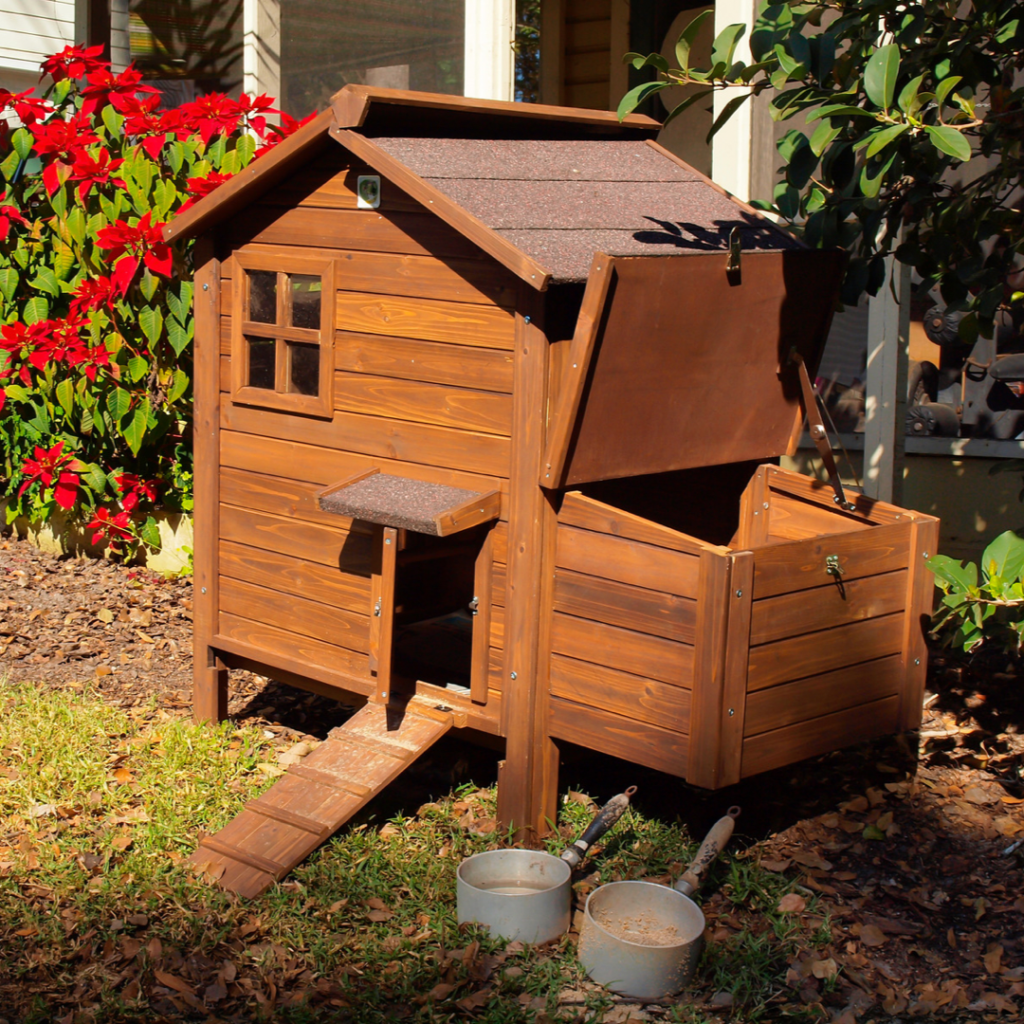
Do not waste your money on a cheap chicken coop! I understand that the cute little backyard DIY chicken coops online are relatively inexpensive, and usually run about $200 and take a few hours to assemble. Here are the main reasons to avoid them:
- The small backyard chicken coop is not big enough unless chickens are free-range.
- The cheap chicken coop design offers very little protection from predators.
- The urban chicken coop will not work for backyard chickens in winter months, in cold climate with temperatures below freezing.
- The DIY chicken coops will rot away in a couple of years in areas with snow and regular rain.
We purchased a used small chicken coop kit when we first got our first baby chicks, as they were rapidly outgrowing the brooder box. We set it up and attached a chain-link dog kennel for a larger chicken run. This worked for the summer, however as winter approached we attached plywood OSB to the outside to help keep them warm. By spring the coop was starting to fall apart, and we knew that we had to build something better.
Amish Made Large House for Chickens
Another option is to purchase one of the high-quality large chicken coops built by Amish craftsmen. American Amish chicken coops are more expensive, however, they will last for decades (unlike the cheap chicken coop kits sold by farm supply stores). They usually have many options, or can build custom chicken coops to protect your backyard flock from extreme temperatures and predators. They will often work with you to determine your chicken house needs, and usually offer a variety of styles and paint colors and trim options, allowing you to have the perfect coop delivered to your own backyard. If you are not a DIY’er, purchasing a hen house from skilled craftsmen is a good choice because they use high quality materials, and use coop designs for easy cleaning which promotes a sanitary environment, allowing healthy chickens to produce healthy eggs.
Extra Large Walk-in Chicken Coop Location
Before we could move our newly acquired old shed, we had to decide on the right place to set it. We decided to set the chicken coop is on an old concrete slab, which once served as an outbuilding concrete floor that had been removed by the previous homeowners. It is a nice level spot, which also protects the chickens from predators that can dig under the coop or run. The location is close enough to the house to make refilling the chickens’ food and water convenient, but far enough away that we won’t smell it in the house with the windows open.
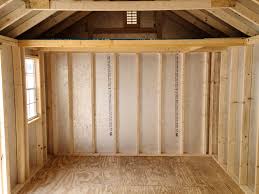
DIY Cheap Chicken Coop and Run
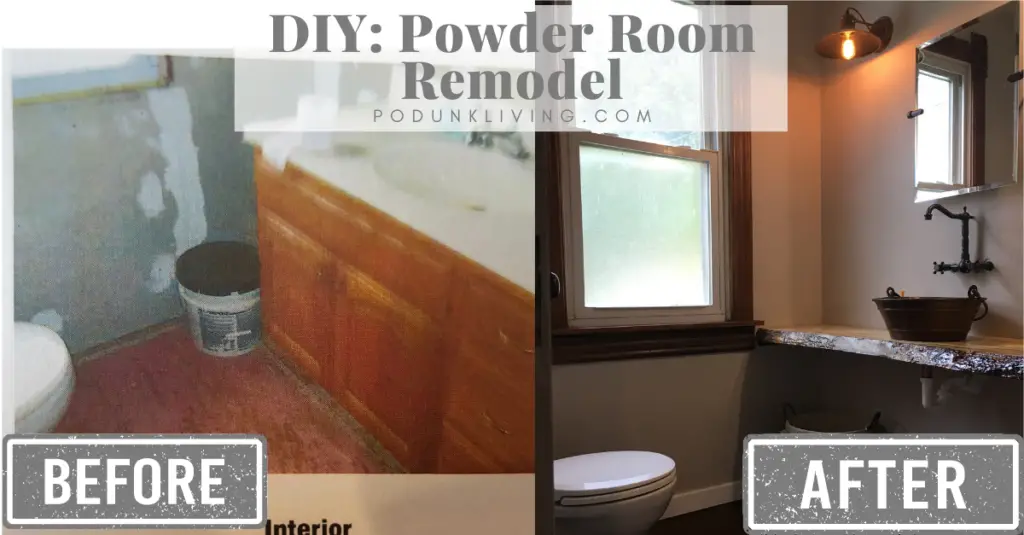
The first step was to relocate the shed, then we stripped it down to the studs. The plywood walls were starting to rot, but the framing and trusses weren’t bad. We framed out some large windows for fresh air, rebuilt the door, and replaced the rotting floor. (We don’t recommend a dirt floor, as predators could dig under the walls to enter the coop.) We re-used old windows that we removed from the old mudroom, which saved us a few hundred dollars. We framed out a small chicken coop door to install an automatic chicken door opener and closer (Amazon affiliate link).
Building a Large Chicken Coop
Once the framing was complete, we sided the coop with 1/2″ plywood. We also applied 2″ wooden slats to cover the seams, giving the chicken coop a board and batten look (you could cut down the boards from old pallets for some of this). We caulked the seams, and painted the exterior of the coop. We attached chicken wire (or hardware cloth) to the exterior of the windows, to protect the flock of chickens from predators like opossums and raccoons that could rip through the screens.
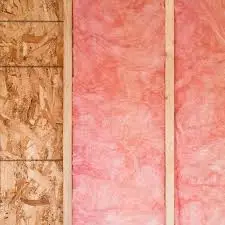
Insulated Chicken Coops
Once the chicken coop was water-tight, we were able to insulate. We used R13, as it was significantly cheaper than R19 (which is required by building code regulations in homes), but still offered thermal value. We insulated the coop ceiling and side walls, and lined the inside of the coop walls with OSB. We kept the insulation just above the flat ceiling in the coop, to allow for ventilation in the attic space. (The air vent is important to prevent condensation and mold from growing in the building.) Adding the insulation allows us to delay heating the chicken coop with this safe heater (Amazon affiliate link), which keeps the chickens from getting frostbite in the winter.
Building Nesting Boxes
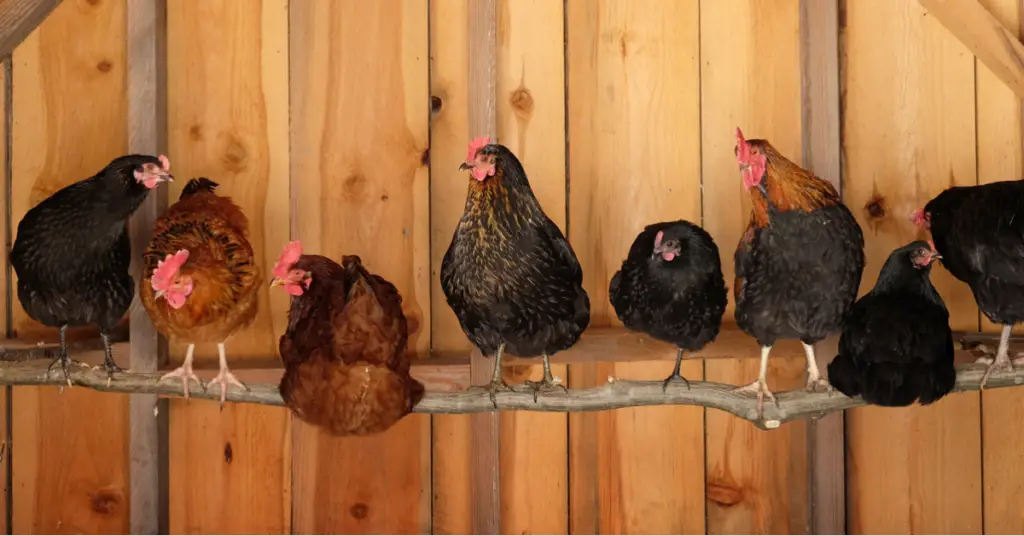
Next, we built nest boxes and roosting bars for the chickens. We used leftover OSB to build the nesting boxes, and 2x4s for the chickens to roost on at night. We chose to use 2×4 because they are cheap (DIY), and prevent frostbite on the toes of the chicken. The chickens sit on the wide side of the board, so that their toes are more extended, allowing their bellies to keep their feet warm. A small diameter roosting bar forces their toes to curl around the bar, positioning their toes to the underside of the bar, away from their body heat.
Installing The Automatic Chicken Coop Door
Then we installed the automatic chicken door (Amazon affiliate link). This is by far one of my favorite accessories for the coop building that we’ve purchased. We have had issues with predators getting our roosting chickens at sunset, before I had a chance to lock them up. The problem is that when predators find easy prey, (our beloved chickens) they will return! In our location, it gets dark around 4:45 pm in the winter, making it very difficult to get home in time from work to secure the chickens from potential threats. The automatic chicken door (Amazon affiliate link) closes at sunset, protecting the chickens from when the majority of predators start looking for food. We also made a solid wood door that can be latched, which can lock them in the coop if needed or can serve as added insulation on extremely cold nights. (Or if the automatic door fails.)
Safe Chicken Coop Heater
Lastly, we added electricity to our new coop. This is for a smart light to keep the automatic door open for an additional 15 minutes, letting the free-range chickens have some additional time to get back to the coop. We also have an electric oil radiator heater (Amazon affiliate link) in the coop. I know there is a lot of controversy around heating a chicken coop, but here are the reasons we decided to heat our coop:
- The first year we had chickens, they ended up with frostbite on their combs.
- Electric oil heaters are the safest version of heat source available for chickens. It has a sensor that shuts the unit off if tipped over, and isn’t too hot to the touch. Do not use a heat lamp or heat bulb in a coop!
- We keep the water dish inside the coop in the winter, the heater (Amazon affiliate link) prevents the water from freezing and allows the chickens access to fresh water all day in the coop.
- With the coop insulated, the heater is inexpensive to run. In fact, we don’t even notice it on our electric bill.
I hope you find this article helpful in your journey of raising chickens. Investing in a good chicken coop will result in happy chickens, and great egg production. It may take a lot of prep work, but will be low maintenance and reliable in the long run.
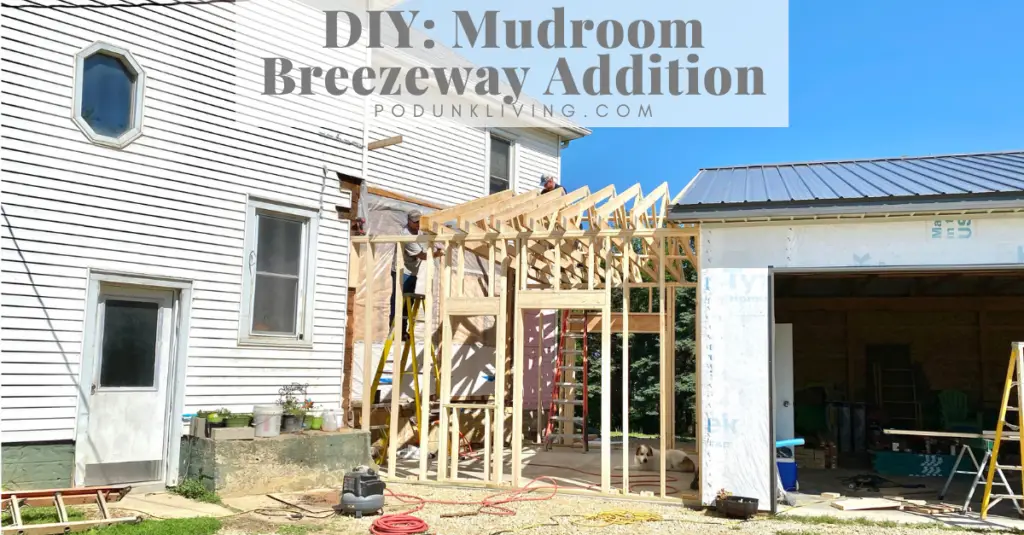
Rednecks With Paychecks Projects: