How to Build a Mudroom Bench
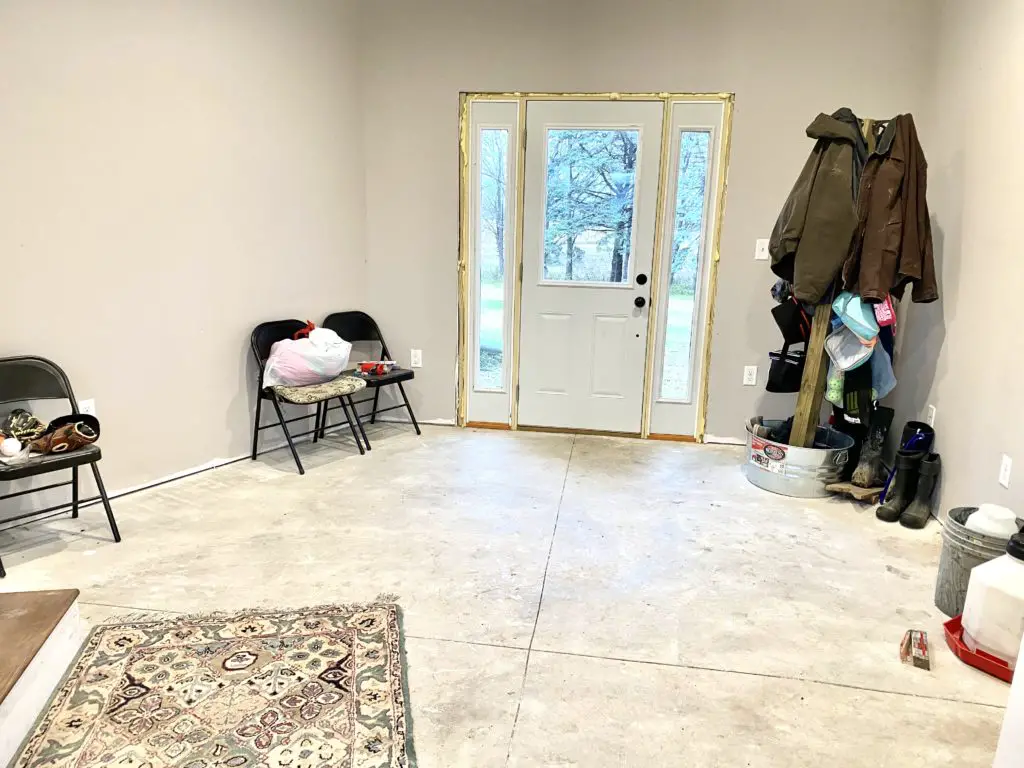
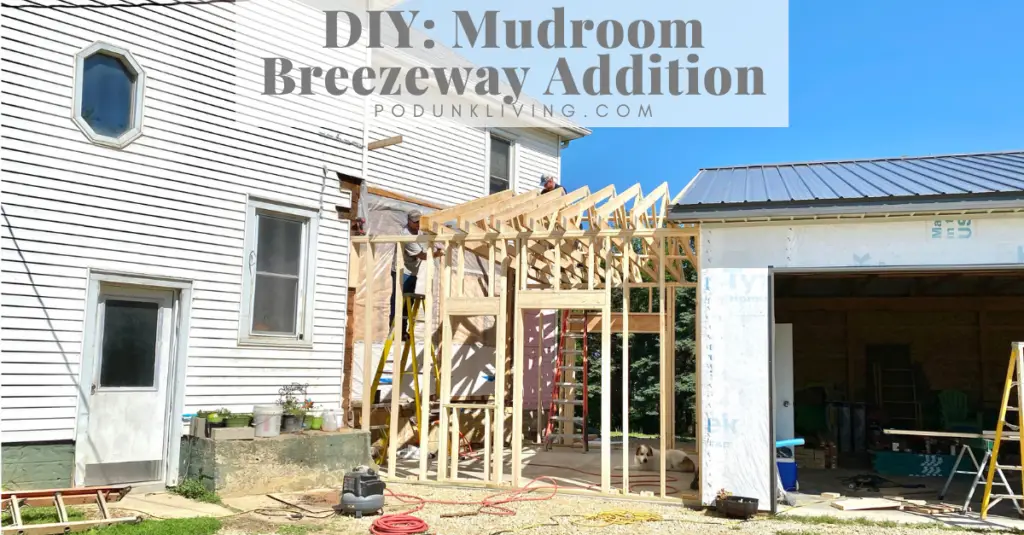
Building a DIY mudroom bench was the first upgrade to our mudroom breezeway addition that we tackled. We were lucky enough to have the space to build 2 entryway benches, one intended for my husband and me, the other for the kids. We also wanted to build an overhead wall shelf, located above the benches for hats, gloves, sunglasses, and other miscellaneous items that keep ending up on the kitchen counter. This article will show you how to build a sturdy, open bottom mudroom bench with storage for shoes, and how much it costs.
Built-In Entryway Bench Materials List
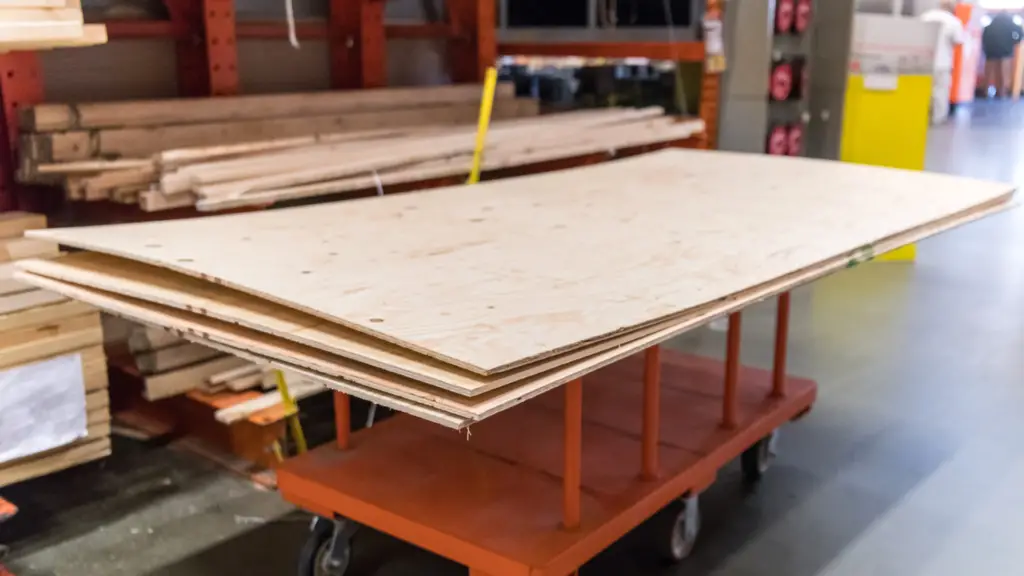
Materials for the entryway mudroom bench included 3/4” plywood, 3/8” plywood (for backing), decorative wood paneling (for the shiplap walls behind the bench), coat hooks, high grit sandpaper, 1-1/4 inch pocket screws, square screwdriver bit, finish nails, gorilla wood glue, brushes, primer, paint, and stain (Amazon affiliate links). Our mudroom is used and abused as a real working farm mudroom, so the design and materials had to be strong enough to hold up to kids, my construction worker husband, and farm animals (that try to sneak into the house). The nice looking veneer materials will NOT last more than a few months in our house!
Tools Needed to Build the Wall Shelves


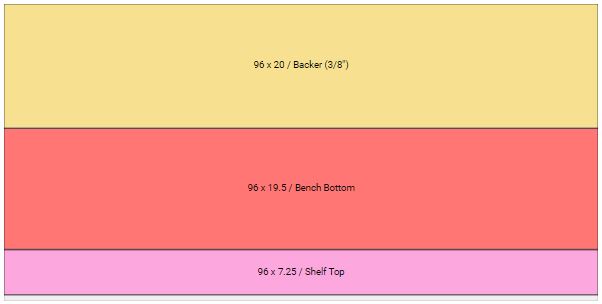
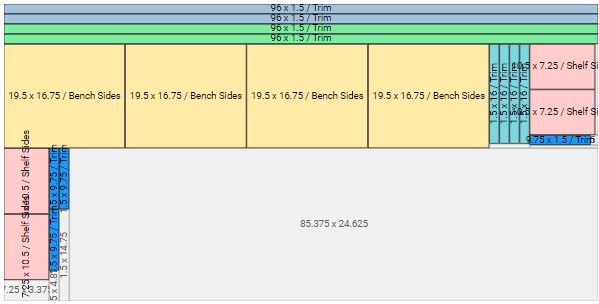
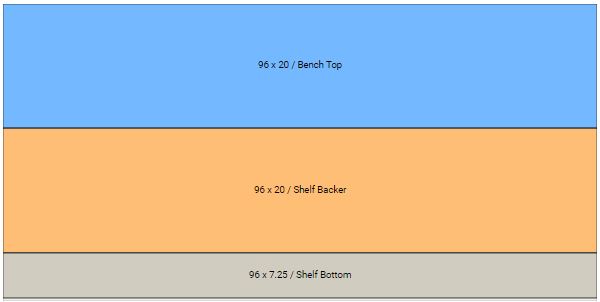
The tools we needed to make the mudroom bench included a saw to cut the plywood, router, orbital sander, finish nail gun, air compressor (for the nailer), and power drill with a pocket hole jig and bit (these usually come as a kit) (Amazon affiliate links) . If you don’t have the money to purchase a good saw to make straight cuts, you could always draft your plywood cut list and go to a supply store that will cut it for you (like Lowes or Home Depot). In my previous projects, I have drawn them out on a piece of paper, which reduced plywood waste TREMENDOUSLY! You will likely need a lot of wood cuts, so don’t go to the store on a busy Saturday or Sunday. Instead, go during the week later in the day (or at night if you must go on a weekend), when the store isn’t as busy. The associates will not be as rushed, allowing their measurements to be more exact (plus they will be more willing to do additional cuts without an extra cost). Here’s our plywood cut drawing for 1 bench (it is a printable photo).
How to Assemble the Mudroom Bench and Overhead Shelves

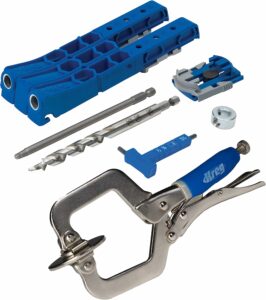
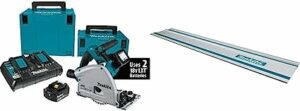
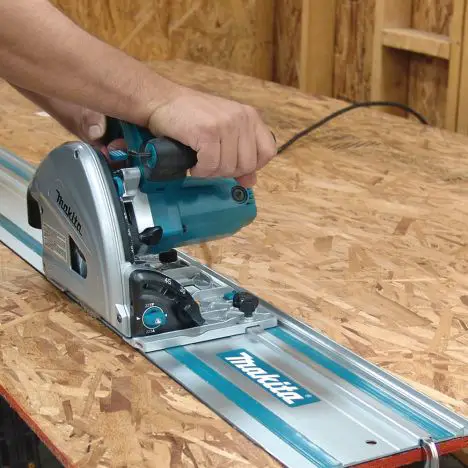
I highly recommend purchasing a pocket screw jig (Amazon affiliate link) for this DIY project. They are about $20, but allow assembling your own mudroom bench to be as easy as if it were bought from Ikea! Pocket hole screws are a great way to securely assemble furniture, while being aesthetically pleasing. If you ever need to disassemble the furniture, it makes things extremely easy! This also helps to make a professional, built-in mudroom bench look. The other tool I recommended buying is a plunge cut circular saw (Amazon affiliate link). This saw is safer to cut large sheets of plywood than a wobbly table saw, and has a track to keep your cuts perfectly straight. We purchased the Makita track saw because it had an option for a 10’ track, and was one of the cheaper models. It was difficult for me to spend $500 on another saw, but I knew we would be building a LOT of shelves and furniture in the near future, and this tool would definitely be worth the expense.
Mudroom Bench with Storage Dimensions
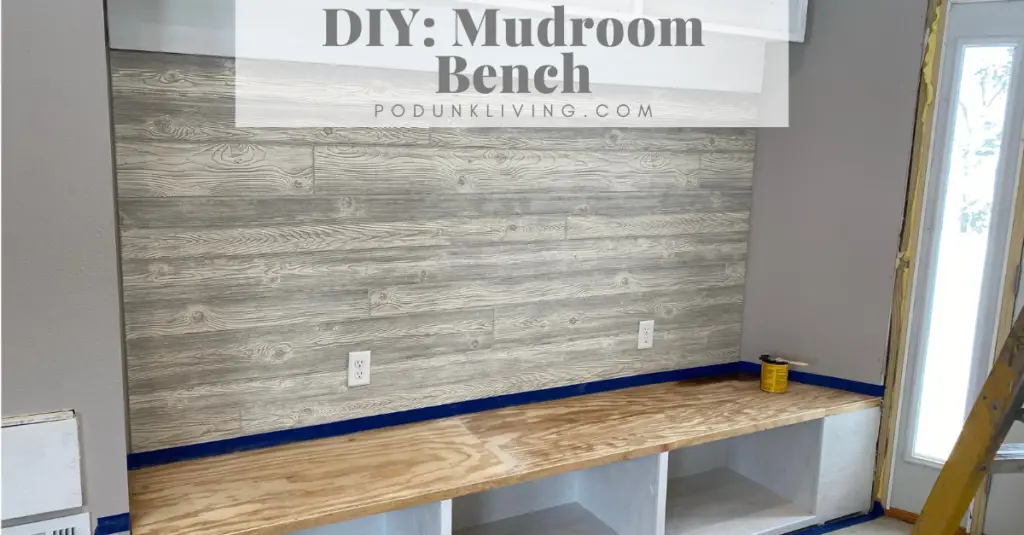
Once we had the materials and tools, we cut down the sheets of plywood and drilled the pocket holes. Our benches are 8 feet long, and would comfortably sit 3 people putting on shoes (giving extra space for all the movement). We are blue-collar messy people, so for us, it comfortably sits 2 with all our extra crap (lunch boxes, coats, etc). We also cut a 1.5″ trim piece to clean up the face frame of the plywood, while giving the top edge a thicker and sturdier look. The bench height is 20 inches, which is based on the standard dining room chair height of 17-20 inches. The bench depth is 22 inches, as we added about 6 inches to the standard dining room chair depth of 16-18 inches. The extra space allows for coats and items to be hanging on the coat rack behind the seat.
Open Bottom Mudroom Hall Tree Wood Backing
We debated on adding plywood to the back of the bench, or keeping it open (exposing the drywall). We decided to add plywood to the back to add strength to the mudroom bench seat (to withstand the kids climbing, jumping, etc). The wood back also protects the back wall from shoes being thrown in the mudroom bench storage cubbies. Aesthetically, I would love to have cute wicker woven baskets, drawers, or cabinet doors for shoe storage. Although they are beautiful ideas, I know our crazy busy family will not use the storage baskets, and their dirty shoes will end up scattered all over the floor instead of in the shoe storage space. So we decided to leave the entryway bench fronts open for easy access (one of the best storage ideas for busy families). We added the dividers for cubbies and bench support.
Constructing the Overhead Wall Shelf with Coat Hooks
For the top shelf, we decided to mimic the bottom bench for added storage. The top shelf is intended for seasonal decor, while the bottom shelf is intended for hats, gloves, and accessories. We extended the plywood backing down 8 inches past the bottom of the shelf to allow for a solid surface to mount the coat hooks to. 3/4 inch plywood is much more secure to mount hooks to than drywall or beadboard panel (again, it needs to hold up to kids and abuse).
Wood Bench Seat

The mudroom bench top is also made from 3/4 inch plywood. To dress up the front edges of the plywood, we cut 2 inch strips of plywood to trim the face, and rounded the edges with a router (more DIY). Paint and caulk will cover just about any imperfection, however, for this project, I wanted to use wood stain. If you prefer not to have the layers of plywood exposed, you could purchase trim board. We built these benches in 2021, when the price of wood was about 4x higher than the regular price. To save money, we decided to use leftover plywood. The results are better than I expected, and I am becoming more fond of Minwax gel stain (Amazon affiliate link). I find the gel stain more forgiving to user error than traditional wood stain.
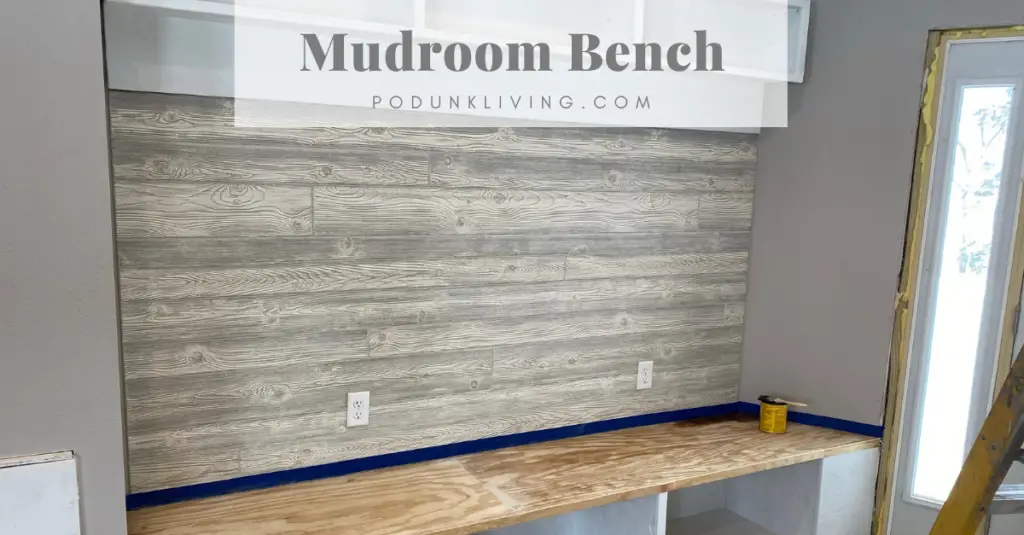
Shiplap Walls for the Bench Backing
We decided to add a wood backer to the mudroom benches to protect the drywall from wear and tear from heavy coats, sports bags, and backpacks banging against it. It also adds a bit of contrast to the room, and gives a bit of decorative feel to the bench area (we prefer the rustic mudroom bench look). It is secured using a brad nailer, so if they become damaged we can simply replace them with new paneling, bead board, or shiplap.
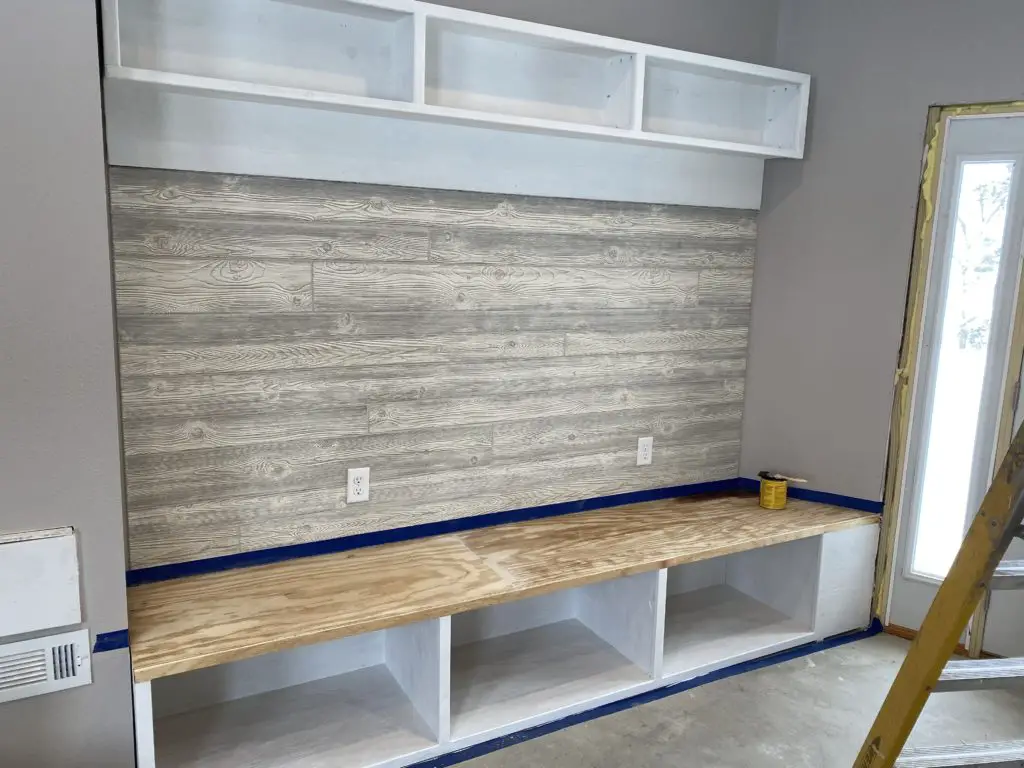
Staining the Mudroom Bench for a Farmhouse Rustic Look
For finishing touches, I decided to stain the top of the bench and paint the bottom pieces, side pieces, and overhead shelf. I believe the stained top will hide the scratches and blemishes that will occur with daily wear and tear. I also applied polyurethane to give more protection to the bench top. The finished look of the stain also adds a bit of contrast, and transitions nicely to the decorative paneling backing.
Mudroom Bench Plans
Here are the DIY plywood cut plans for the mudroom bench plans (for 1 bench). These have been calculated out to reduce waste, and have included the cuts for trim pieces.
Two 8-foot mudroom benches and shelves cost price breakdown:
| 3/4” Plywood | 4 Sheets @ $41/sheet | $164 |
| 3/8” Plywood | 1 sheet @ $35/sheet | $35 |
| Paneling | 2 sheets @ $35/sheet | $70 |
| Wood Glue | $7 | |
| Paint | $25 | |
| Stain | $10 |
Rednecks With Paychecks Projects:


After reading this, I built my own bench. Thanks for giving me a plan to start my own project. I’m done buying Ikea!