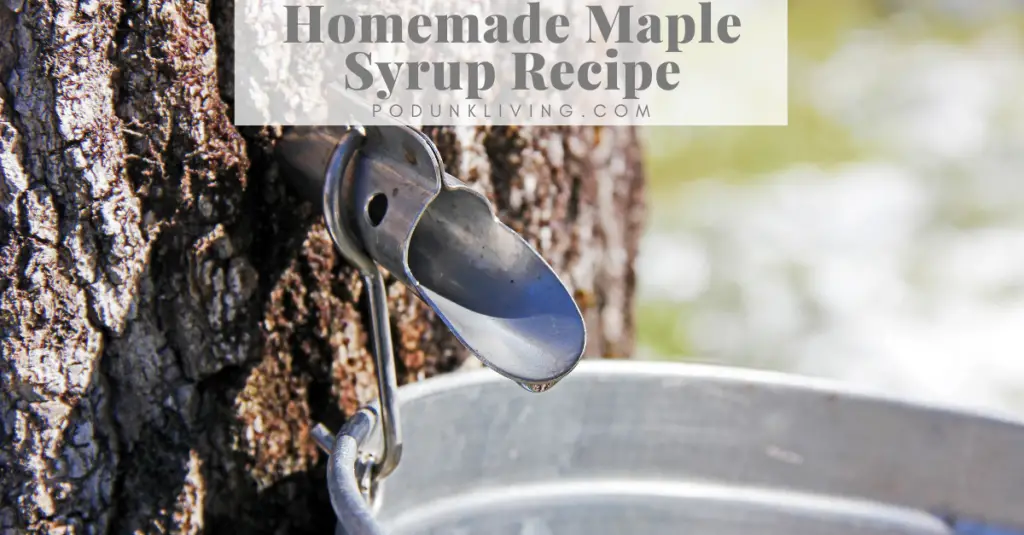
Delicious Homemade Maple Syrup Recipe
Tapping sugar maple trees is one of the first signs of spring. Maple syrup season starts when daytime temperatures climb to 35 degrees or more, and nighttime temperatures drop below freezing. (For our area this begins in late February to early March.) This temperature swing encourages the flow of sap from the roots through the trunk and to the branches. The end of the season occurs when sap flow decreases, or when the tree begins to produce buds for leaves (whichever comes first). You can tap any kind of maple tree, and produce nutritious, flavorful, sweet, homemade syrup. We have generic maple tree species that have grown where an old fence line was. Their sap may not be as good as the sap of the sugar maple tree, but they still produce delicious pure maple syrup!
Collecting Sap from Maple Trees Efficiently (Sap Flow)
When it comes to 4-H projects like these, our kids are extremely busy with extracurricular activities. So we try to come up with the most efficient way for them to get results. We purchased 5 gallon buckets for taps, allowing us to collect raw sap on the weekends. You can repurpose clean plastic milk jugs or water jugs, but at a 1 gallon max capacity, you’ll have to check on the sap level daily or every other day. If you are trying to figure out the number of taps you need, our maple sap flow from our trees put out on average 1 – 5 gallons from a single tap per week. We use 12 taps, and will usually fill a 32 gallon garbage can per week. We bought an extra drill bit that we keep with the taps, which we have marked at 2.5 inches, which is the depth needed for the tap. We bought two different sized taps to trial. There was no difference in output based on the size of the tap. The only difference we noticed is that the larger tap has a thicker spile (the tab at the top), which is sometimes needed for the extra force required when removing the taps.
How to Store Maple Sap
To store the sap until the weekends, we purchased food-safe 32 gallon garbage cans (Amazon affiliate link). This also helps us to keep track of how the number of gallons of sap to boil down to syrup. It is really easy to lose track of how many 5 gallon buckets have been poured into the boiler, especially while drinking beer and sitting around the fire. 5 gallons of maple sap will usually yield just under a pint of homemade syrup, and our full 32 gallon can of sap will yield just under a gallon of maple syrup. Boiling sap takes a lot of time, so we have found it best to make maple syrup in batches.
Shelf Life of Maple Sap
The cold nights of maple syrup season help extend the shelf life storage of the tree sap. Our sap lasts about a week in cold temperature, if we don’t get around to maple syrup production until the weekend. If you have some warm days before you can evaporate, a trick we learned is to freeze 5-10 gallons of sap in 5 gallon buckets. We then put the blocks of frozen sap into the large containers. We’ve actually had sap last us 2 weeks because the 32 gallon container was mostly ice. (The hard part is thawing it enough to fit it into the evaporating pans when you’re ready to boil.) It will be ok if it gets a little cloudy, however, I would boil cloudy sap in a separate batch. If it is bad, you will smell it when it boils and won’t contaminate the main batch.
Homemade Maple Syrup Evaporator
We made our own maple sap evaporator using a metal 55 gallon drum (food grade), stainless steel pans (Amazon affiliate link), and a wood stove kit (Amazon affiliate link). The cheapest way to build an evaporator is to build a fire pit with cinder blocks, topped with expanded metal for the pans to sit on. In our first year, we used a turkey fryer. The turkey fryer worked, but the tall cylinder pan did not allow for excessive evaporation like the flat stainless pans. We burned through about 2 propane tanks, costing us about $50 for 2 quarts of maple syrup (from about 45 gallons of sap). Because of the high sap sugar content, make sure to boil your sap outside. If you try to evaporate 96% of the water in the sap to make syrup, you’ll have a sticky mess on all surfaces of your garage (or in your house).
Boiling Maple Sap into Maple Syrup
When boiling your maple sap to syrup, DO NOT try to boil it down as thick as commercial or store-bought syrup. Commercial pancake syrups are mainly made up of corn syrup and artificial maple extract flavorings. Pure maple syrup will be thick but still runny (think about warmed syrup, or about the consistency of motor oil). Most people enjoy a runny breakfast syrup, as many people heat pancake syrup to thin it out. If you insist on producing thick maple syrup, use caution when evaporating. If you boil the maple sap too long, you’ll end up burning your sap and losing the whole batch. To prevent burning your sap, invest in a maple sap hydrometer (Amazon affiliate link). (Don’t use a beer hydrometer, they are not accurate for the thick viscosity of syrup.) You can get by without a hydrometer, however, you’ll find yourself with runnier syrup while trying to avoid scorching. (Nothing is more frustrating than boiling 32 gallons of sap for 4 hours, and then burning it because it “wasn’t quite thick enough”… ask me how I know, lol.)
Health Benefits of Pure Maple Syrup (Sugar Substitute)
There are surprising health benefits to regular consumption of pure maple syrup (just as many as organic honey). Studies have shown that real maple syrup used as a sweetener results in a reduced plasma glucose spike when compared to sugar. Studies have also shown that real maple syrup has anti-cancer effects in the esophagus, gastric, colorectal, and pancreas. Real maple syrup also has a surplus of vitamins and minerals like zinc, potassium, calcium, and manganese. If you would like to substitute sugar with maple syrup in your daily diet, here are some tips to get you started:
- Morning coffee
- Cooking and baking – use 3/4 cup of maple syrup for every 1 cup of sugar, and reduce liquid by 3 tablespoons.
- Oatmeal
- Granola, breakfast, or protein bars
Maple Syrup Recipe
Equipment
Ingredients
- 40 Gallons Maple Sap ((tecently tapped from maple trees))
Instructions
- Boil 4-8 gallons
- When sap evaporates to about half level, combine both pans into one, and resume boiling.
- Replace sap from empty pan with fresh sap from the taps. Bring to boil.
- When the pan with the first batch of sap evaporates to half level, top off with fresh boiling sap. Resume boiling.
- Repeat through the entire batch of maple tree sap. DO NOT OVERCOOK! 40 gallons of maple sap will yield about 1 gallon of maple syrup. Use hydrometer to determine thickness. (Real maple syrup will be runnier than store bought, and will thicken as it cools.)
- Store maple syrup in refrigerator. Maple syrup will mold at room temperature.
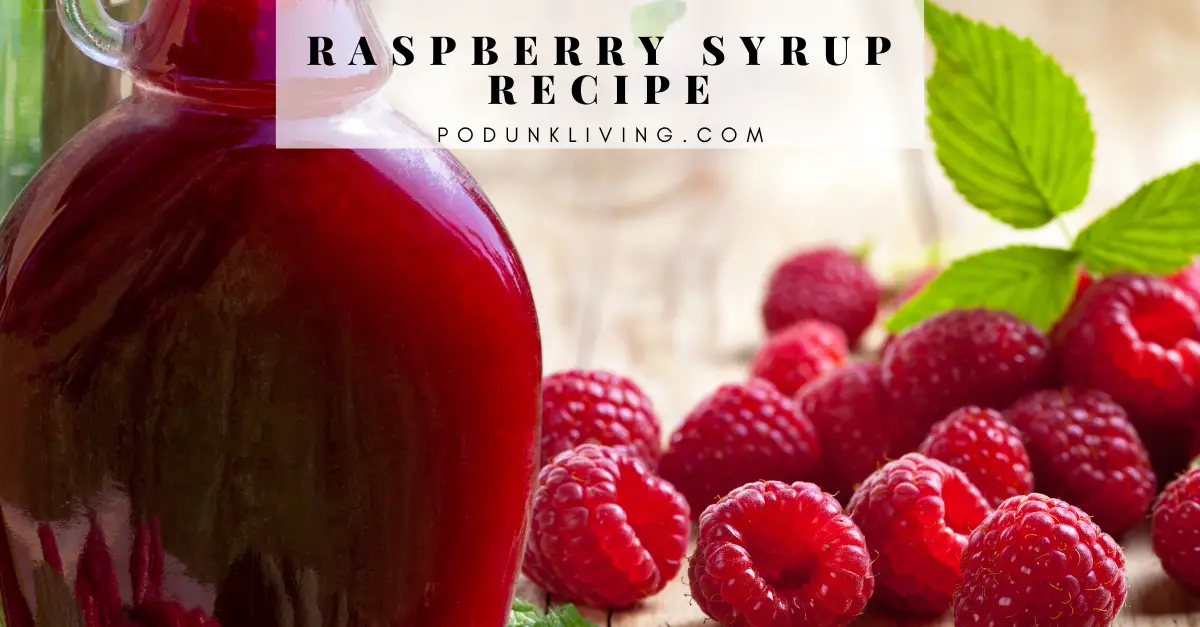
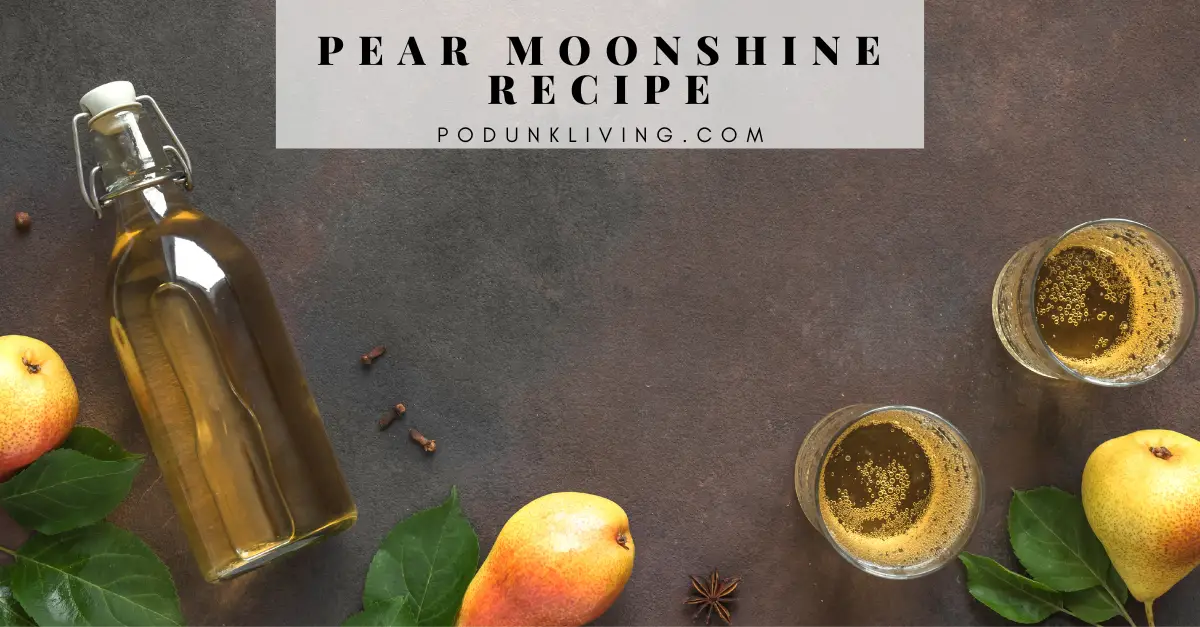
If you like this recipe, you might want to try:


Great idea! I didn’t know store bought syrup didn’t actually contain maple syrup.
My friend sent me this recipe, and we are getting ready to tap some trees. Thank you for the tips!
The last time I went to the grocery store, I looked at the ingredients of pancake syrup… and yep, it is CORN SYRUP! I had no idea that there was a difference, and real maple syrup is $8 for a little bottle!