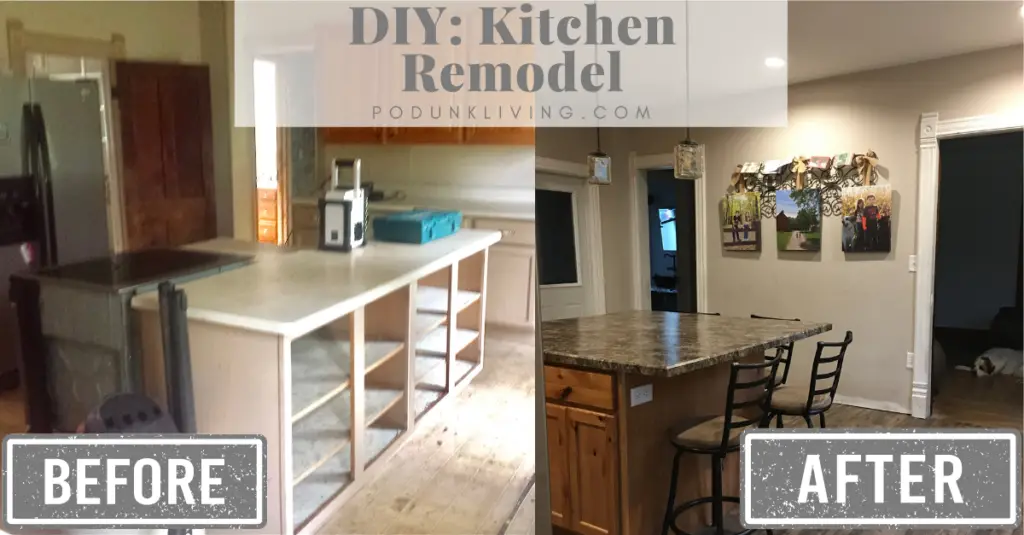
DIY Kitchen Remodel of our American Foursquare House
Here’s a story on how we accomplished our DIY kitchen remodel. Updating our old foursquare kitchen ended up being a lot more work than I initially thought it would be. While the craftsmanship of this old house is impressive, the plumbing, electrical, and accessories of the house were downright hazardous. We had schedule 40 PVC pipe supplying water to the sink (even hot water), improperly rated knob and tube wiring supplying electricity to modern appliances, and flooring that sank about 1.5-2 inches in the middle. We were also unaware that the footings to the laundry room addition off the kitchen were less than 1 foot deep (our frost line is at least 4 feet), and the laundry room was actually sinking and adding stress to the exterior framing of the house. To say the least, a major kitchen renovation was necessary (and as always, we remodel DIY style).
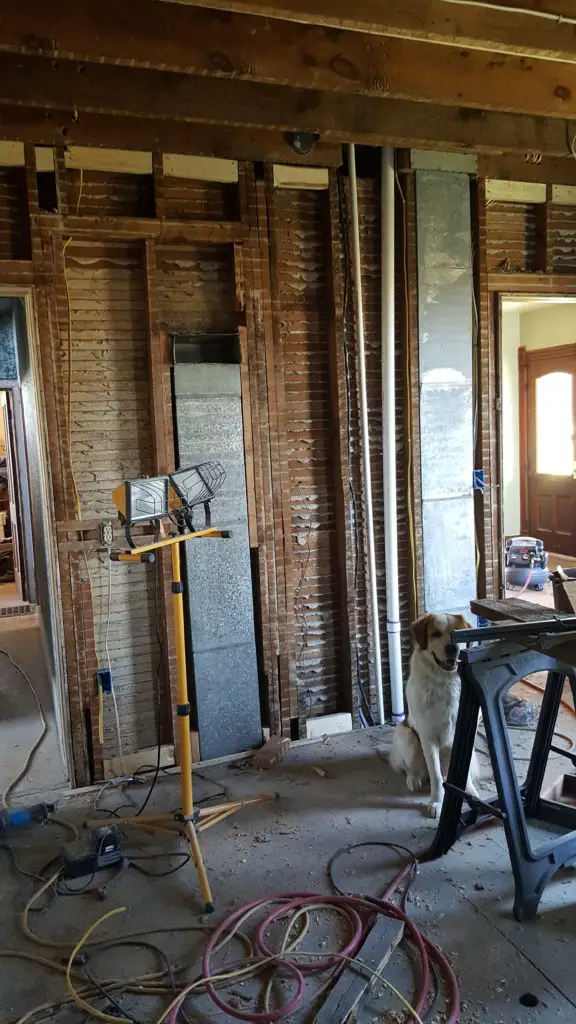
DIY Demo Day!
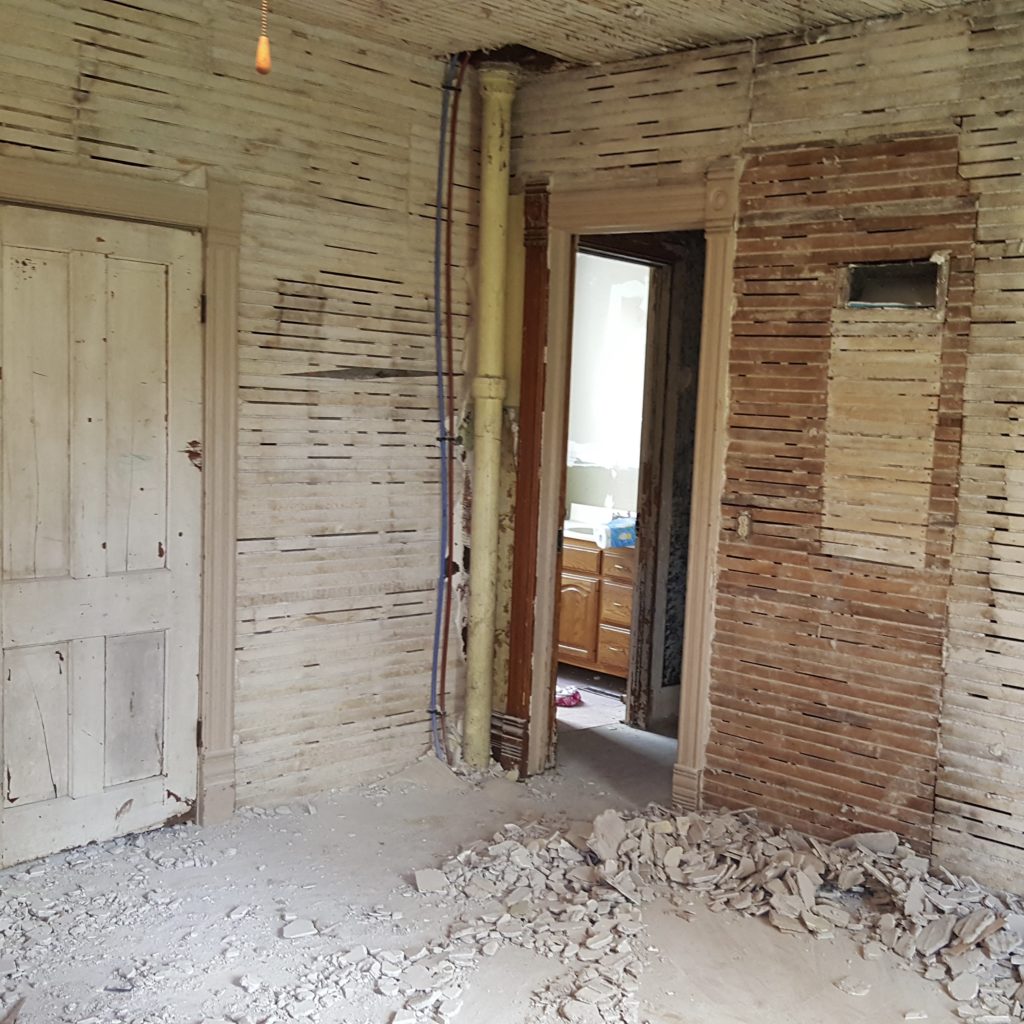
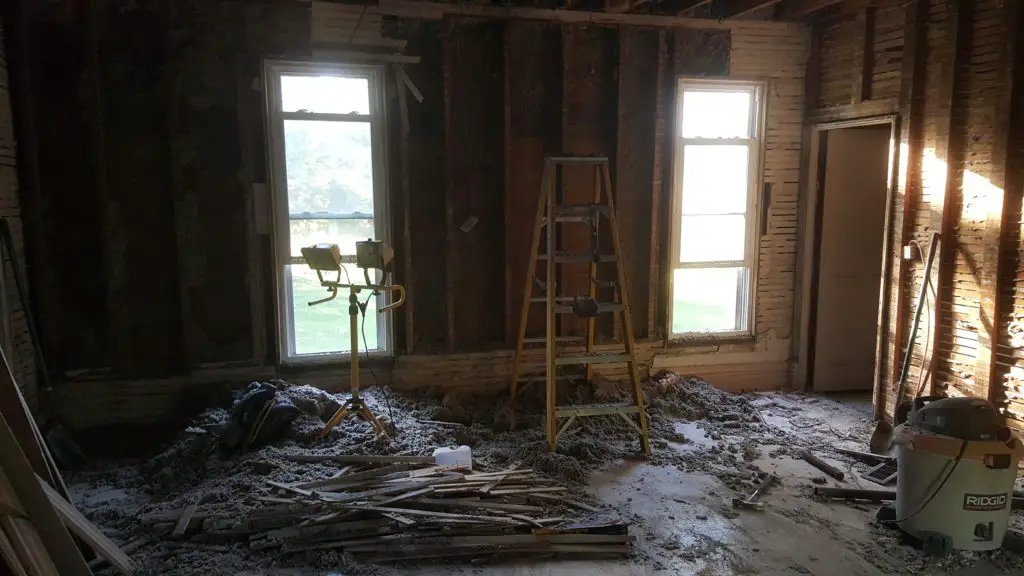
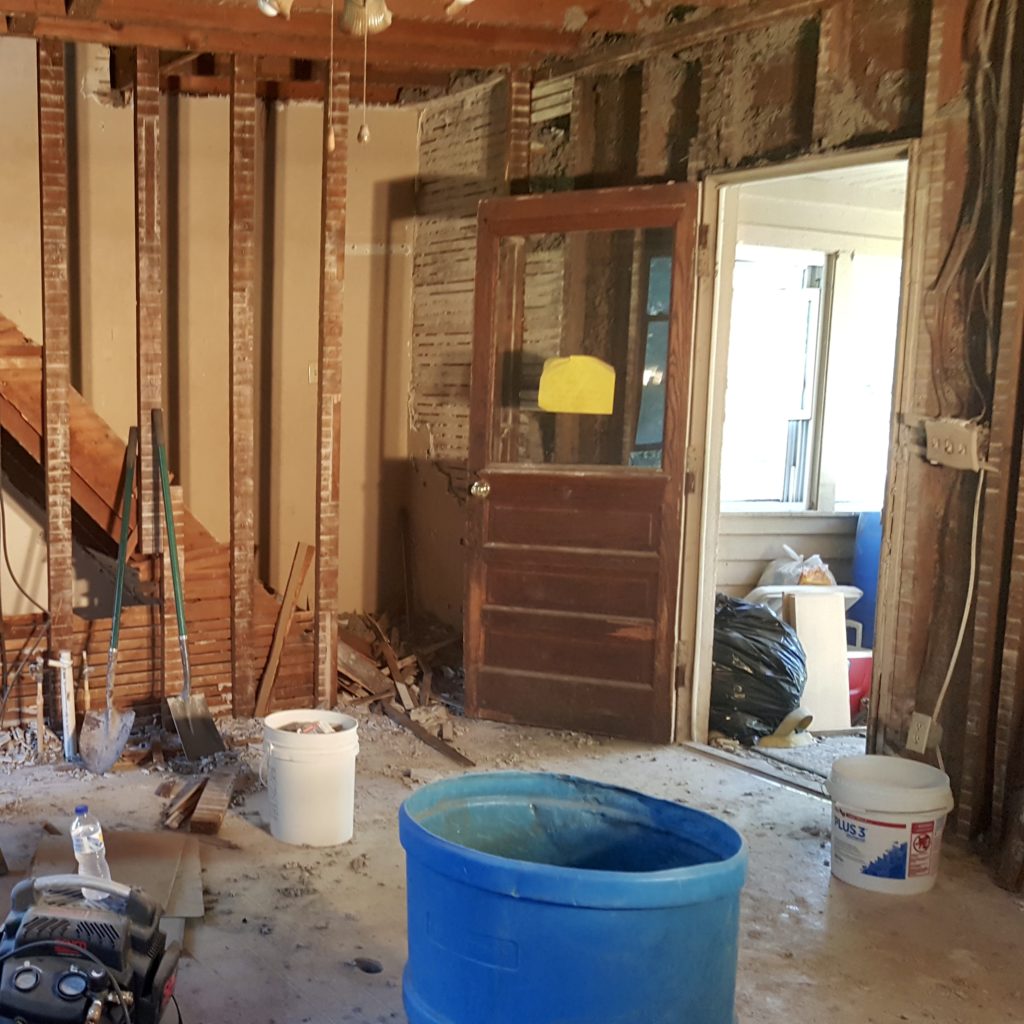
Kicking off our DIY kitchen remodel is demo day! Removing plaster, lath, and cellulose is a messy job. There was about 150 years of dust, dander, mouse droppings, and more built up in these walls. I tried to keep plastic up over the two doors that led to the rest of the house, but the mess seemed to trickle well into the next room. Honestly, my best friend became a shop-vac (Amazon affiliate link), broom, and a magnetic bar on wheels (Amazon affiliate link). The magnet helped us find all the tiny nails from the lath, in the kitchen AND the driveway.
Updating an Old Home for a Modern Kitchen Floorplan
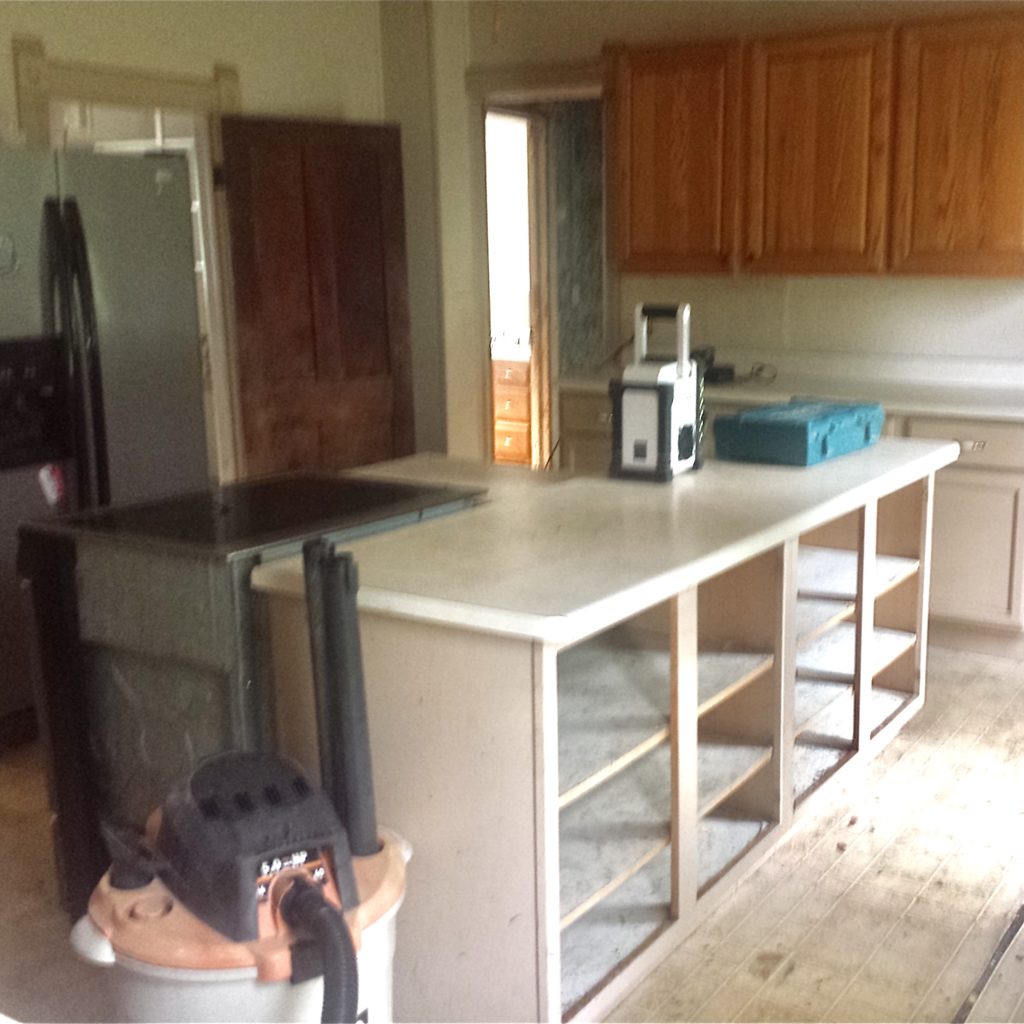
Since we had to strip down our walls to studs to re-wire the house, we decided to change the floor plan and the layout of the kitchen. Our old house has lots of elongated windows and doors, which did not leave much wall space for cabinets and countertop space. We have two windows that nearly touch the floor, and 6 doors in our 16 x 20 kitchen. To modernize our kitchen floor plan, we decided to eliminate 2 doors. We eliminated one door by removing the secondary staircase, which led to the master bedroom. We also eliminated the exterior entry door, by creating a hallway through the laundry room to the outside. Eliminating these two doors allowed us to create an L-shaped kitchen floorplan with a large island with seating.
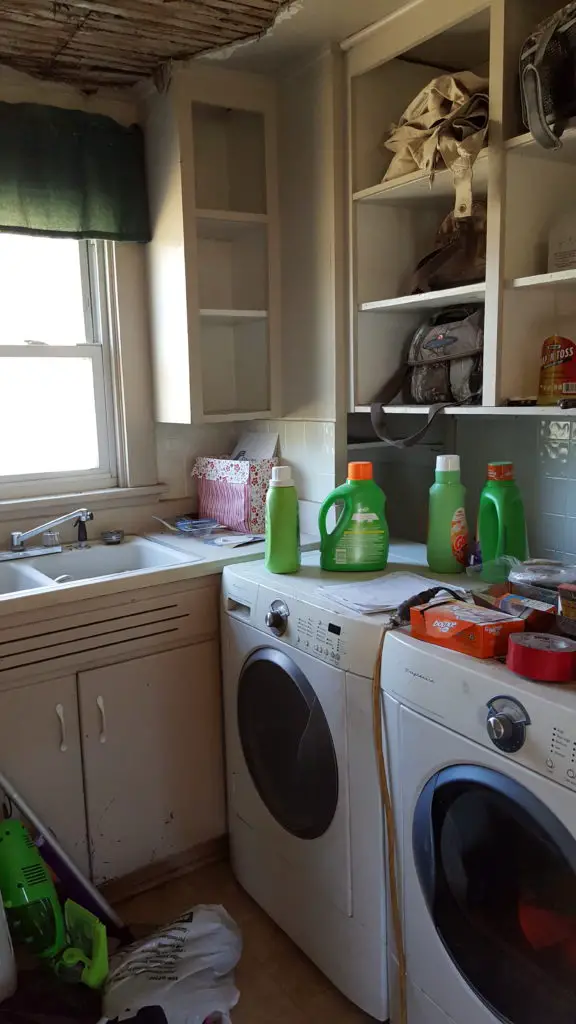
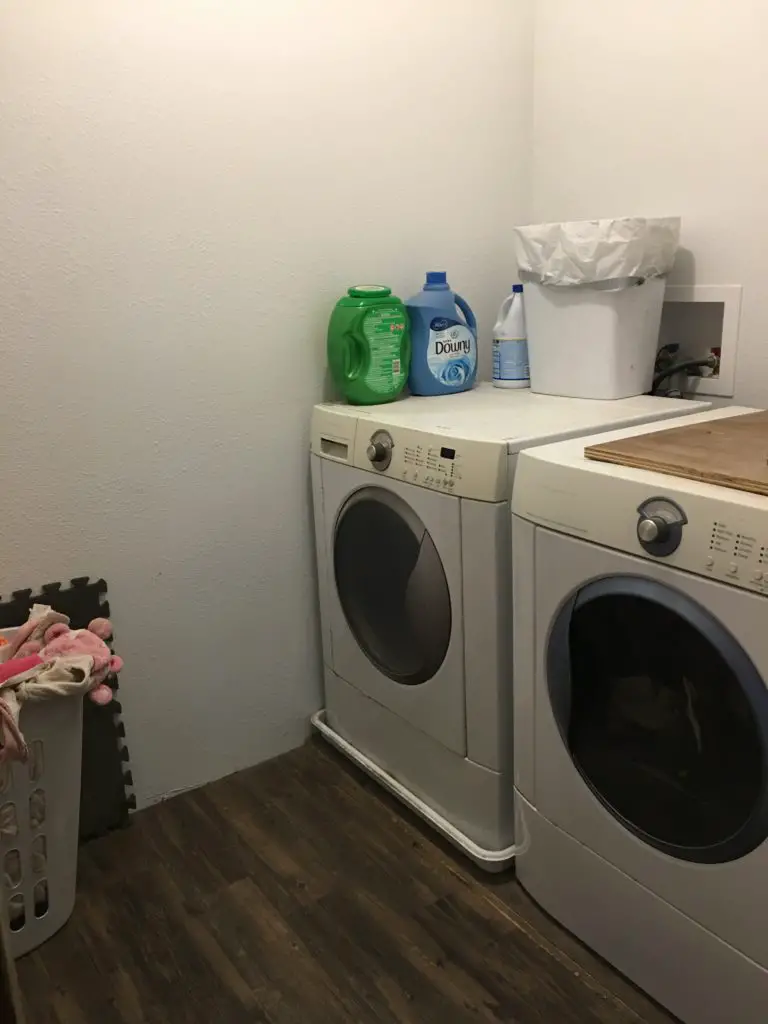
Laundry Room Relocation (Away from the Kitchen Renovation)
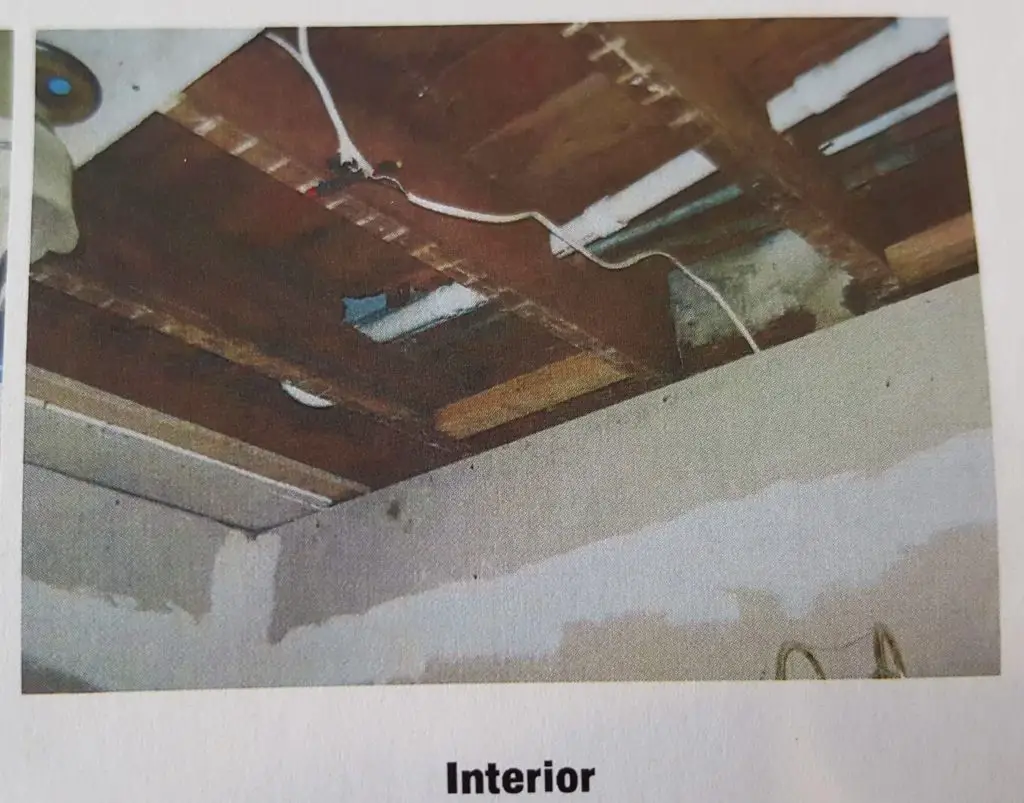
With the kitchen walls exposed, we were able to run a number of lines between the basement and the second floor. (Make sure to add ANYTHING you may need in the future, at this stage of the kitchen remodel, or you’ll regret it later!) We relocated our laundry from the addition off the kitchen (which was sinking), to the second floor next to the bedrooms and bathroom. (Best decision EVER!) Since the kitchen walls were open, we were able to add plumbing for the new laundry room upstairs, and supply power for an electric dryer. We also installed a drain pan (Amazon affiliate link) for the washing machine, and piped it from the second story down to the basement to our septic tank (in case of washing machine leaks or appliance hose leaks). It will be the best buy ever… if needed! We also added ductwork to two of the second-story bedrooms through this exposed wall (many old homes do not have HVAC ducts to the second story). We also ran CAT-6 wire and coax to the second story for television, streaming, and wifi connectivity in the bedrooms. While I regret not widening the doorway between the kitchen and formal dining room (for a semi-open floor plan), the wall space was needed to supply air conditioning and heat from the basement to the master bedroom.

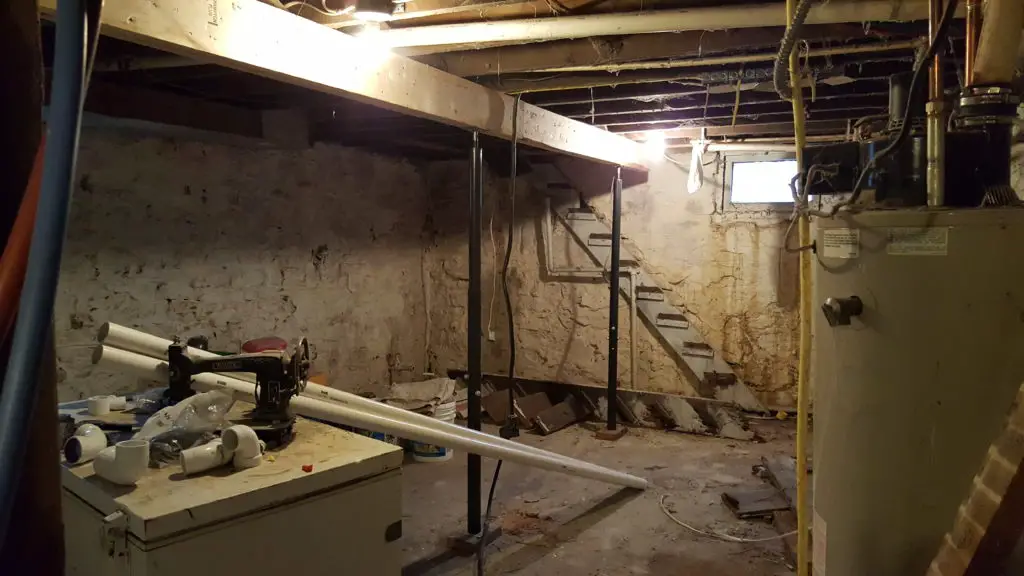
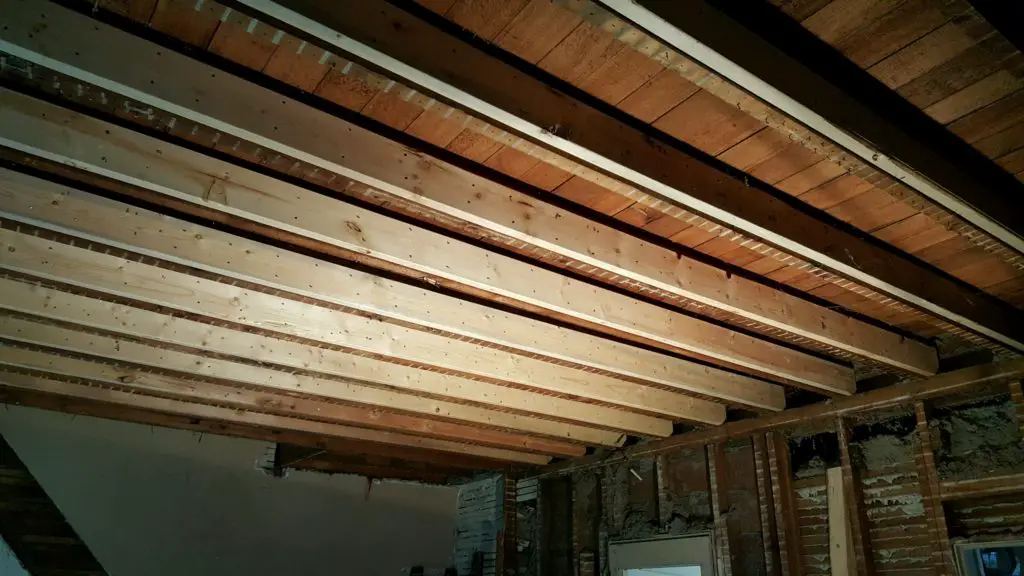
Beam Me Up! (Huge DIY Cost Savings)
We built and installed a beam in the basement to level the kitchen floor (building our own beam saved us thousands of dollars on our kitchen remodel cost). The DIY basement beam also stiffened the kitchen floor tremendously, and there is absolutely no rattling when walking across the room. We also jacked up the ceiling joists, then we sister-joisted them to add support and level the ceiling. We discussed putting beams across the ceiling for extra support, however, the ceiling wasn’t sagging much, and adding exposed beams would have been quite expensive.
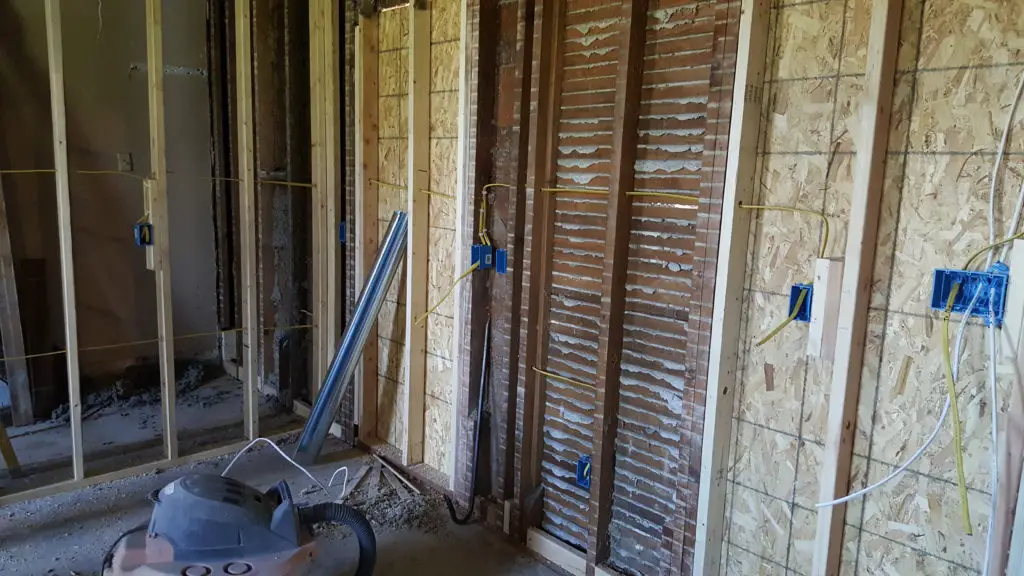
All Wired Up
Once the framing was done, we could run the wiring. The National Electrical Code requires every piece of kitchen counter over 12 inches wide or more to have an outlet over it. They also require at least one outlet every 4 foot, and no more than 12 inches from the sink. (Make sure the outlets within 12 inches of the sink are GFCI.) Bottom kitchen cabinets are typically 36 inches tall, and 24 inches deep (with countertops having a 1.5 inch lip overhang), while upper cabinets are typically installed at least 54 inches above the floor. The outlet should be no more than 20 inches above the countertop (typically outlet boxes are installed 48 inches to center high). Code also requires at least one outlet in a kitchen island (we put in 2 outlets because ours is a large 4′ x 5′ island). To save some money in our remodel, we ran 14/3 Romex wire (15 amp) to the lights (for a 3-way switch), and 12/2 Romex 20 amp to the outlets. Many places will recommend installing 12/2 wire to the lights, however, we assumed that the electrical load will be lower with LED lighting instead of traditional halogen or incandescent lighting. Also, it is important to note that the NEC requires separate, dedicated 12/2 Romex wires (20 amp) for the refrigerator, microwave, and disposal with the dishwasher.
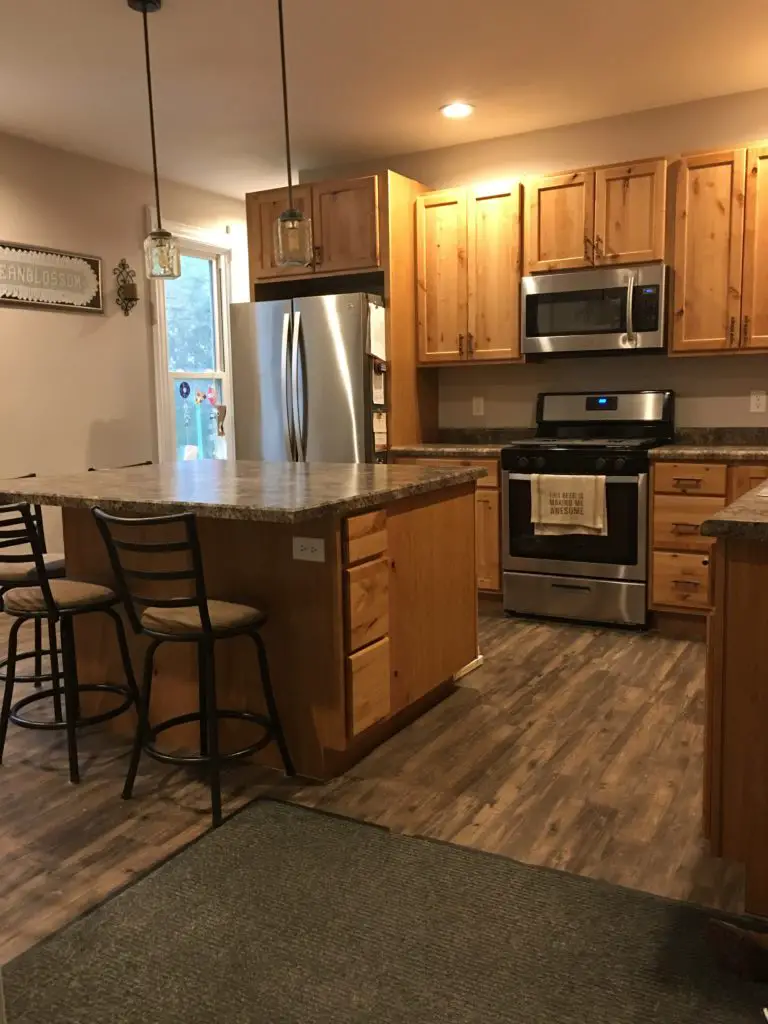
Let’s Get Lit!
When deciding on lighting for the kitchen, more options are great! General overhead lighting provides the typical light that we’ve been accustomed to for the last century. It is recommended that kitchens have 35 lumens per square foot. (Our 16 x 20 kitchen is 320 square feet, and should be lit with about 11,200 lumens. The typical 6″ recessed light is about 1,200 lumens, meaning we would need 9 recessed lights. We also added 2 task lights over the island, and under cabinet lights. We spaced the recessed lights 24″ away from the walls, and about 5 feet apart (give or take, to make the layout look nice and symmetrical). The 24″ spacing from the wall is to prevent any shadowing on the countertops from the overhead recessed lighting. The standard upper counter depth is 12″, and the standard countertop depth is 25.5″. Placing the center of the 6″ light at 24″ is the perfect sweet spot to allow for light spread (without the upper cabinet interfering) without casting a head shadow while working on food.
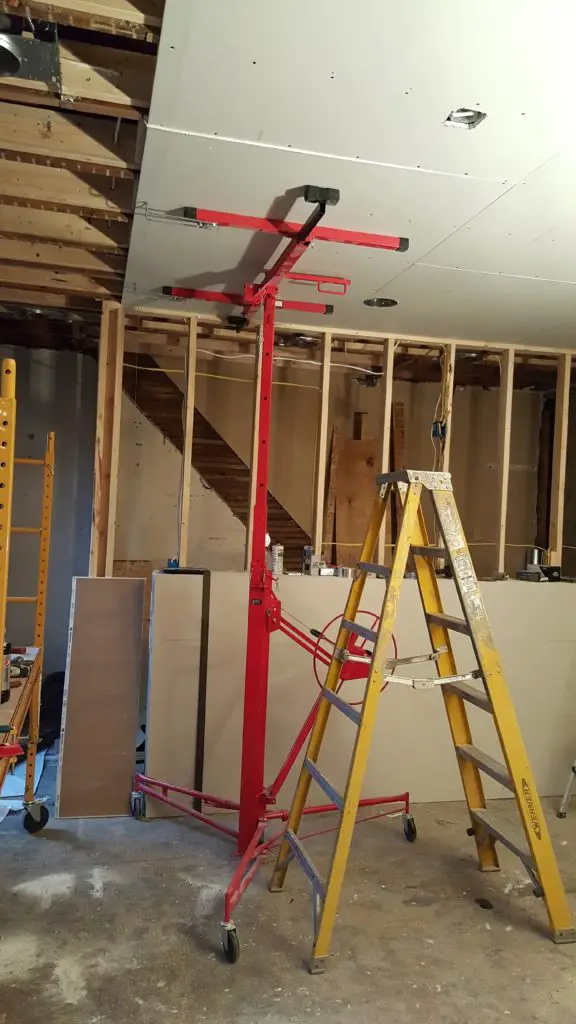
Insulation, Sheetrock, and Mud (the least fun step of a kitchen remodel)
Once the kitchen was re-plumbed, rewired, and the new floor plan was framed out (and the 3 doors were filled in), it was time to start putting the kitchen back together. Insulation went in, the drywall was hung, and mudding and sanding was started. (This drywall lift (Amazon affiliate link) was worth every penny for ceiling work, and this drywall lifter (Amazon affiliate link) helped keep the wall panels tight to the ceiling!) If you don’t drywall for a living, make sure you allow extra time for the mudding and sanding portion. It doesn’t take long to throw up insulation and drywall, but you’ll want to take your time with finish work. It is easy to get caught up in “get ‘r done” mode, but if you rush the mudding and sanding stage, you’ll end up with seams that you’ll look at for the next 10 years or more! Trust me, the last thing you want is to have to re-do mud work. If you’re new to drywalling, it may be worth it to hire our this portion of the kitchen renovation. Many companies will give free estimates. Drywall installation costs usually aren’t terribly expensive, and it can also save you weeks of tedious work in your remodel.
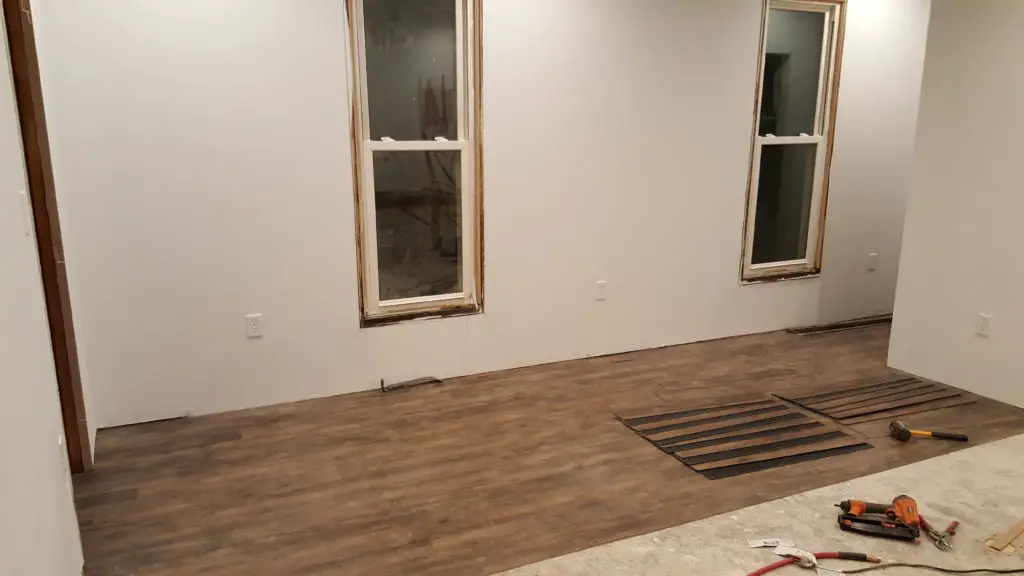
Kitchen Floors Installation
Next, we installed the flooring. (This starts the fun stage of the kitchen makeover!) The floor in the kitchen was about 1/2″ higher than the floor in the dining room and hallway, so we removed 3 layers of flooring. It appears as though the previous owners laid new flooring over top of the old flooring a few times. Ideally, we had wanted to go with new hardwood floors throughout the house, but our budget was running too short to replace the floors throughout the house. We went with vinyl plank flooring, and it has held up well so far. It installed fairly easily, and can be cut with good snips (Amazon affiliate link). We installed the flooring under the cabinets, and have had no issues with buckling or moving under the cabinets. Most people don’t realize that vinyl also expands and contracts with weather changes. We made the mistake of not turning the air conditioner on when humidity levels increased a year later (it was only 78 degrees outside, but very humid), and our new bamboo flooring in the dining room had expanded into the kitchen, buckling the vinyl floor in the kitchen. We ended up cutting a 1/4″ gap in the doorway between the two floors, and laying plywood on top of the vinyl to flatten it and add some weight, for a couple of weeks until it settled. A friend who installs hardwood floors professionally recommended that we run our a/c for at least 5 years before we even think about opening a window (even on those nice and breezy cool nights).
Restoring the Original Kitchen Woodwork
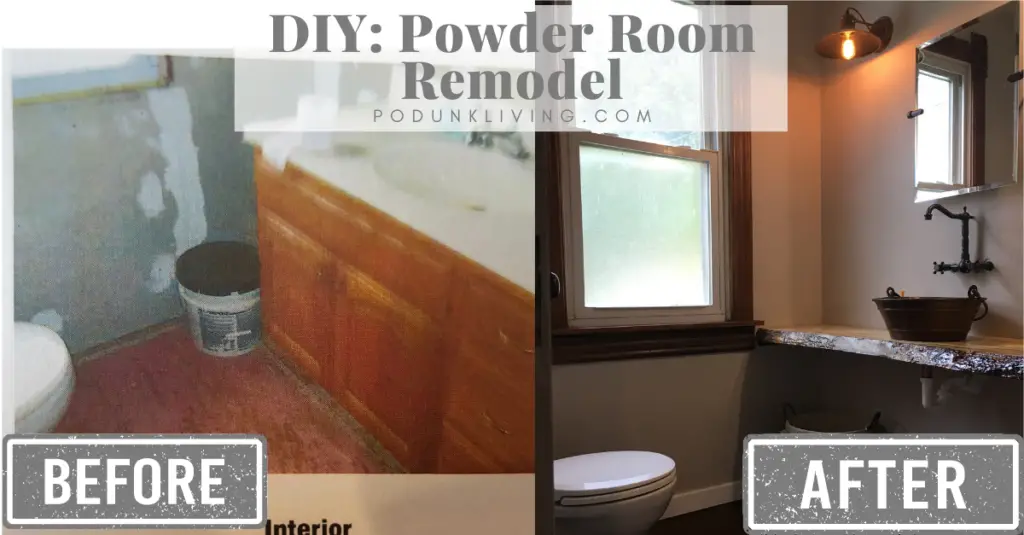
After the new floor was installed, we were able to put the original woodwork trim back up in the room. This trim had already been painted (prior to the remodel), which allowed us to calk in the nail holes and against the wall. Calking in trim just gives it a much cleaner and more professional look. The trim then got a fresh coat of paint, and has quickly become one of my favorite design features. (It is A LOT easier to paint or stain trim before you paint the walls!) This fancy trim isn’t throughout the entire house, just in the main entertaining areas like the kitchen, dining, living room, and den. The back hallway, powder room, and second floor have basic trim boards (but are still 8″ tall). These multiple styles of trim are common in old American foursquare homes.
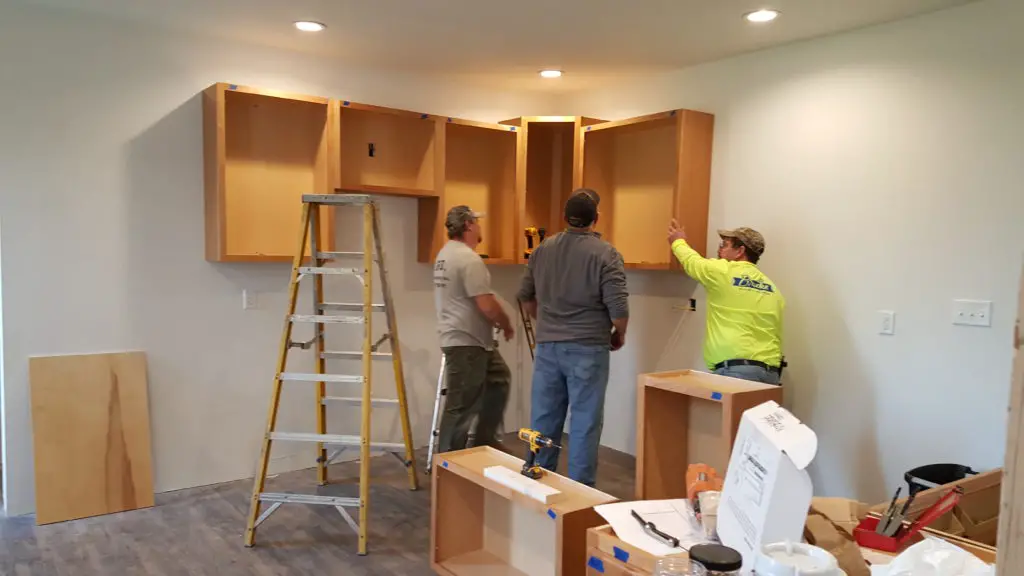
Installing Kitchen Cabinets
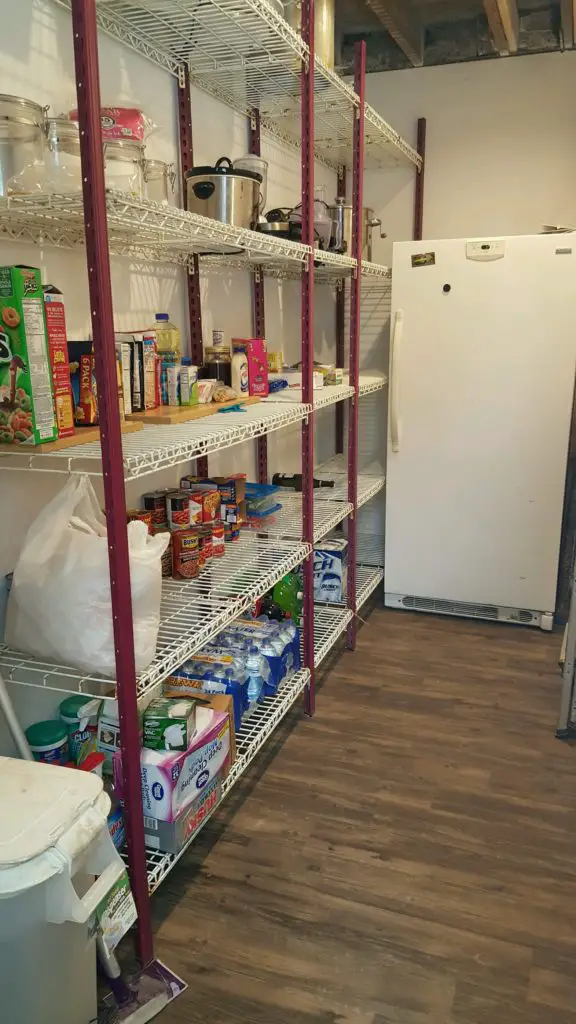
Next, we were able to install the kitchen cabinets. We found Kraftmaid had great craftsmanship, and was reasonably priced (we also lucked into some sales from Lowes at the time). Choosing the finish design was tricky, because my taste is very different from my husband’s. I spent HOURS on Houzz and Pinterest trying to find inspiration that would satisfy both our tastes. (I highly recommend finding inspiration before tearing into a project, instead of scrambling last minute to pick finished products before installation.) We were able to decide on the finish details together, and the installation of cabinets, countertops, sink, and pantry shelves finished rather quickly. We went from an empty room to a fully functional kitchen and stocked pantry within about a week. (Check back later for our pantry makeover.) We added outlets to the island kitchen cabinets, which was an easy DIY upgrade to wire through our unfinished basement. We also wired an outlet to a wall switch for under cabinet lighting and over cabinet lighting (before the drywall went up). Lighting is an important element when designing kitchen spaces… you want to see what you’re cooking!
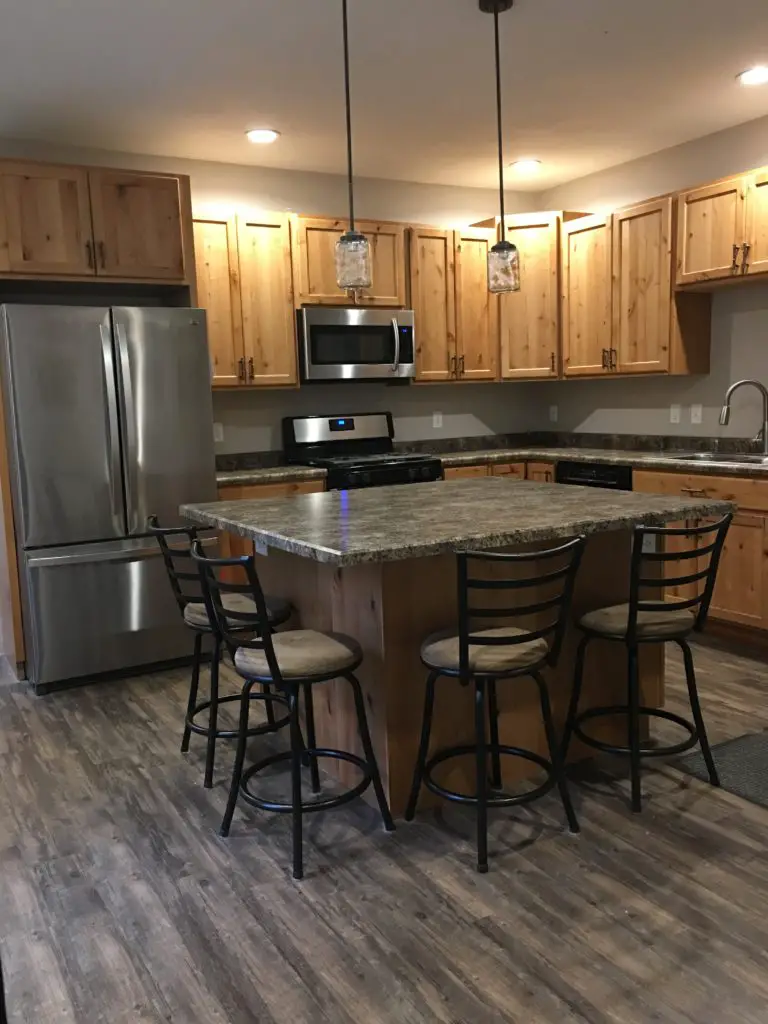
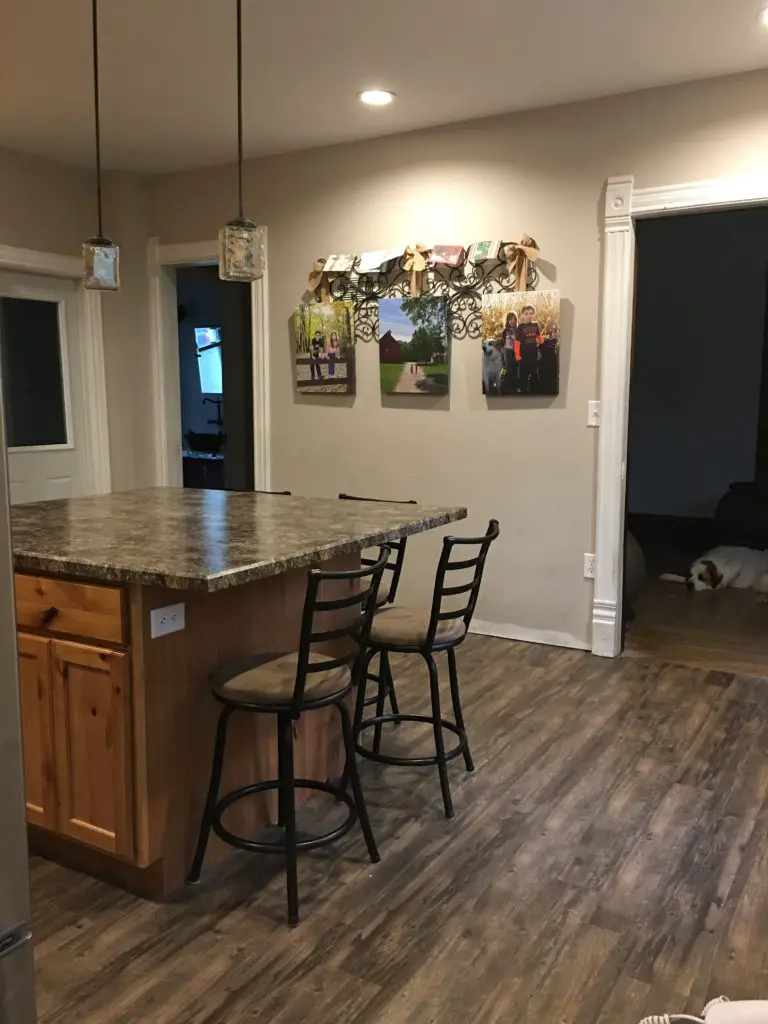
Paint Your Heart Out
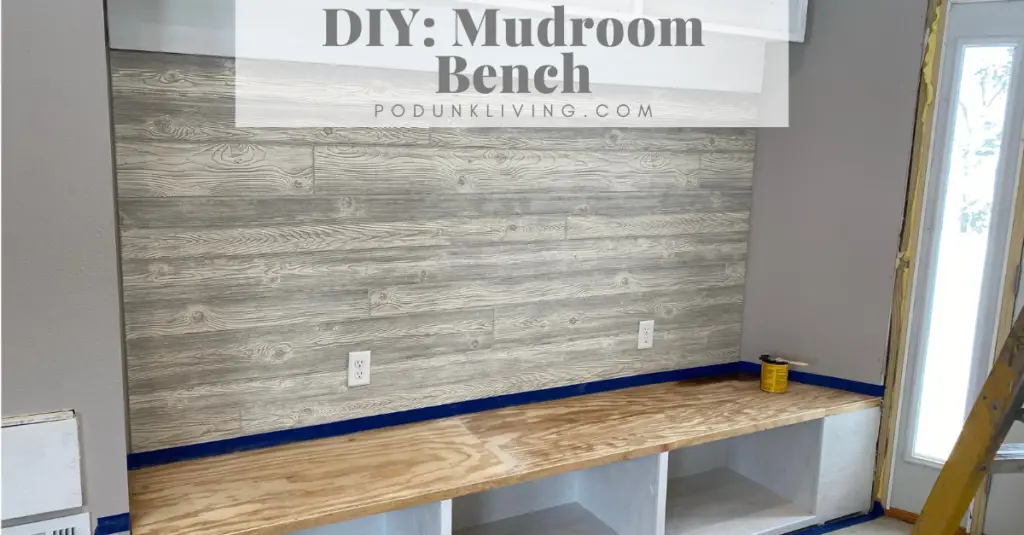
Lastly, we were able to paint, and install the pendant light fixtures. We chose Sherwin Williams Alpaca paint, as it would match throughout the entire first floor (including our dark wood floors and dark color stained trim throughout the rest of the main floor). We carried the same paint color and wood stain into our new mudroom breezeway addition, built between the garage and kitchen (read more about building the mudroom, or about building the mudroom benches and shelves).
Kitchen Remodelers Reflection: What We Would Do Differently
As we finish our DIY kitchen renovation, I want to advise you on what we would do differently next time:
- Set up a temporary kitchen in another room. The first month of our kitchen remodeling, we spent SOOO much money on eating out! Later on, we invested in a good toaster oven and air fryer.
- Take your time! We were in such a hurry to just finish the damn project, that by the end our decisions were based on what was easiest and cheapest.
- Save extra money! Whatever you think your costs may be… add another 50% (this is extremely difficult for my cheap ass). When you start to tear into a project, you may find unexpected issues, or you may get inspiration to splurge on gadgets, appliances, or finishing touches. (Someone will suggest a great idea… midway through your project.)
- Don’t base your kitchen remodeling decisions on adding home equity! Remodel the kitchen the way YOU want it! House flippers invest the BARE MINIMUM, and they aren’t remodeling the kitchen the same way they would do their own house. (Granite countertops do not add value, and are a pain in the ass to care for long term!)
Rednecks With Paychecks Projects: