DIY Farmhouse Powder Room Renovation on a Budget
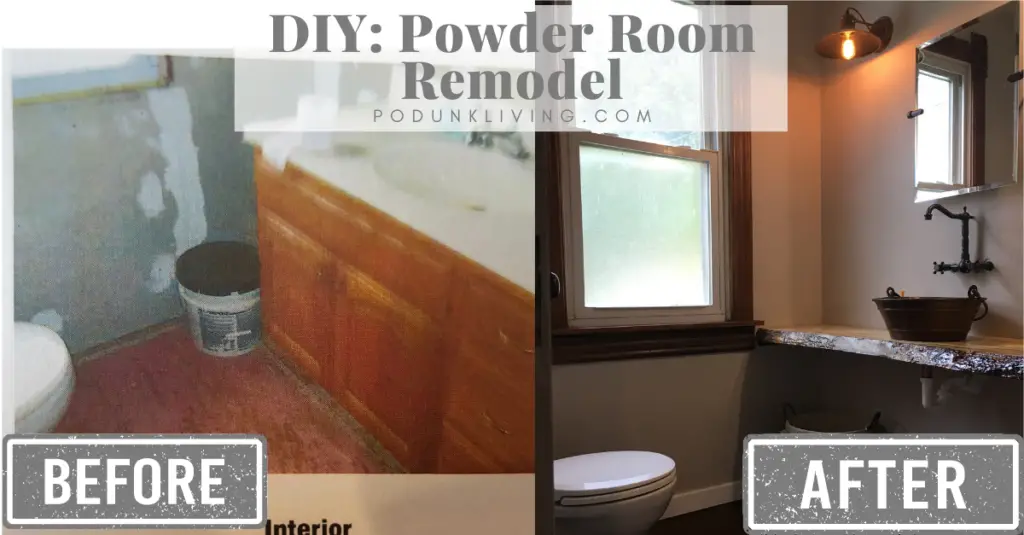
When we bought our old foursquare farmhouse, we knew we wanted to go over-the-top with the decor in this tiny bathroom. The half bath on the main floor is the main powder room that most of our guests use, and we were excited to go a bit crazy with one of our room makeovers. We can’t wait to show off our rustic farmhouse powder room remodel!
Bathroom Demo Day!
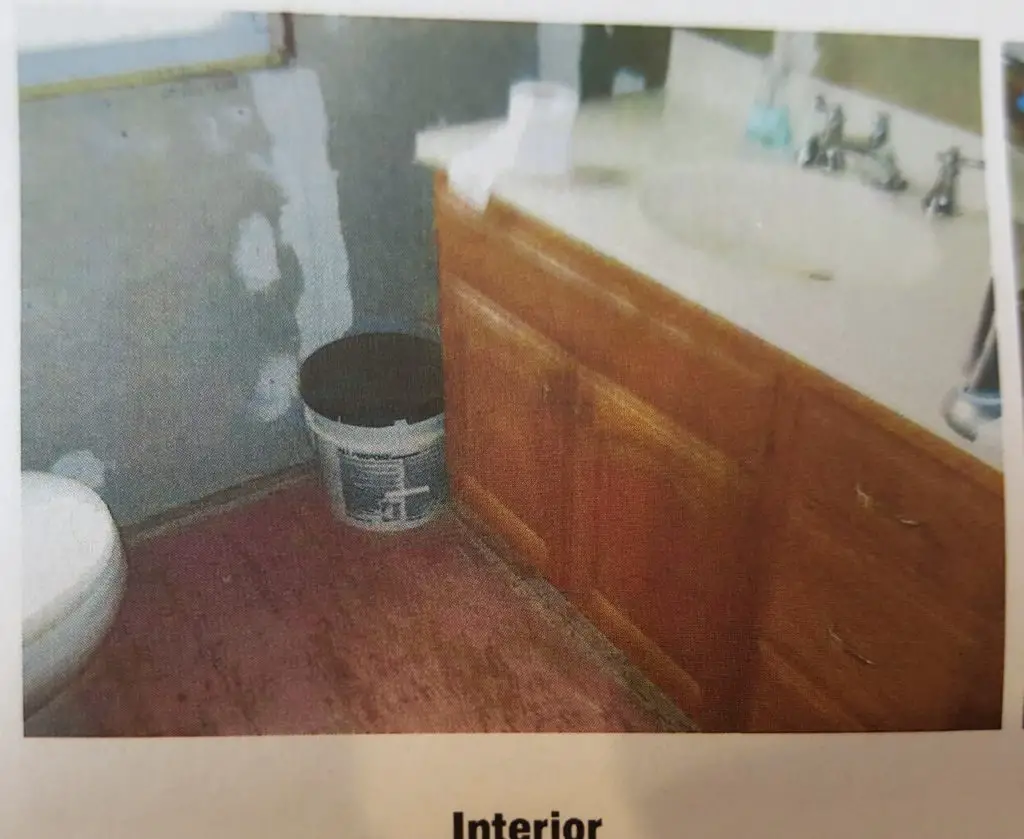
Demo day is the most exciting day for us, as we get to peel back the layers and uncover centuries-old craftsmanship (that has been covered by decades of farmer-rigged work). Half of our problems were already exposed, since the room wasn’t finished when we bought our farmhouse. We stripped the powder room down to the studs, and removed the old sink and toilet. We immediately replaced the knob and tube wiring, and added a GFCI outlet (code when near a sink or water source).
Powder Room Rough-In
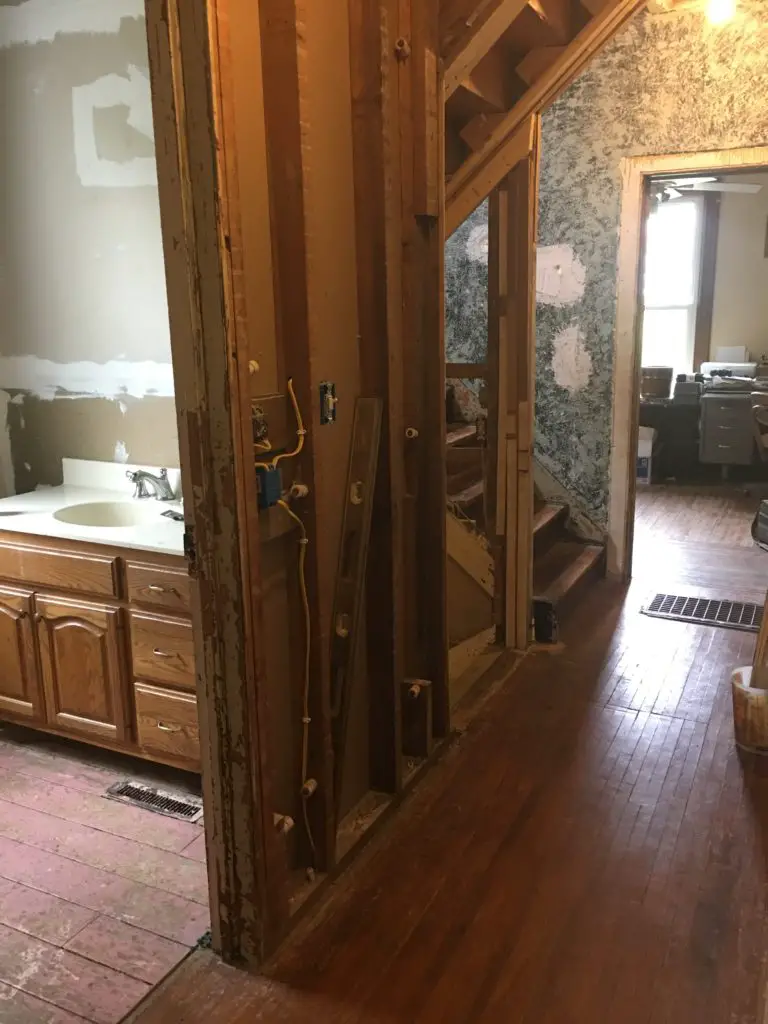
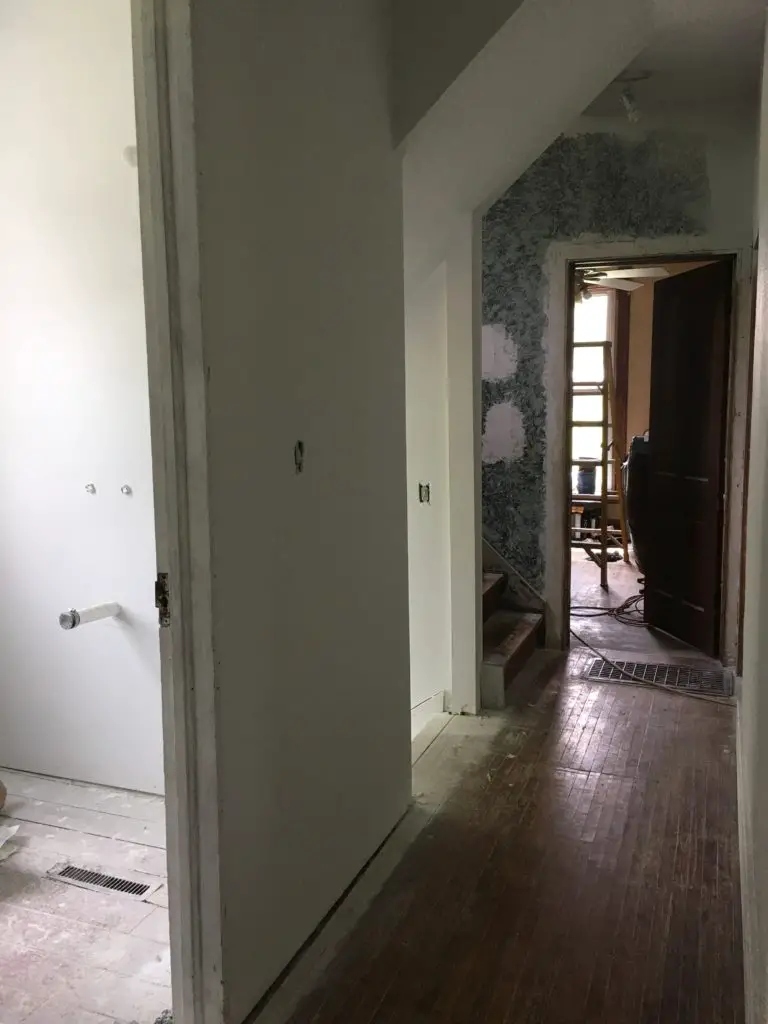
We ran the new water supply PEX pipes (Amazon affiliate link) and drain pipes through the floor and up into the bathroom wall. (We have had great luck with this Masterforce Multi-Head Pex Tool, which came with a very nice case with storage.) We also adjusted the toilet plumbing for the new floors. (The pink floors pictured above are subflooring, and the toilet flange needed to be raised to accommodate another layer of flooring.) We also added wiring for 2 barn lights on either side of the mirror. Once the rough-in was complete, we were able to hang the drywall and start sanding and mudding. (This step took us a while because we also did the stairs, hallway, and dining room.) We usually do 3-4 layers of drywall joint compound. The first layer is to stick the drywall mesh tape to the joint. The second layer of mud is wider, and fills in most of the gaps. The third layer is even wider to blend the hill created from layering the tape and first layer of mud, and to touch up any areas. The fourth layer is to touch up any areas that may need further attention. Take your time perfecting the mud work, or you’ll notice any blemishes while sitting on the throne!
DIY: Rustic Live Edge Vanity
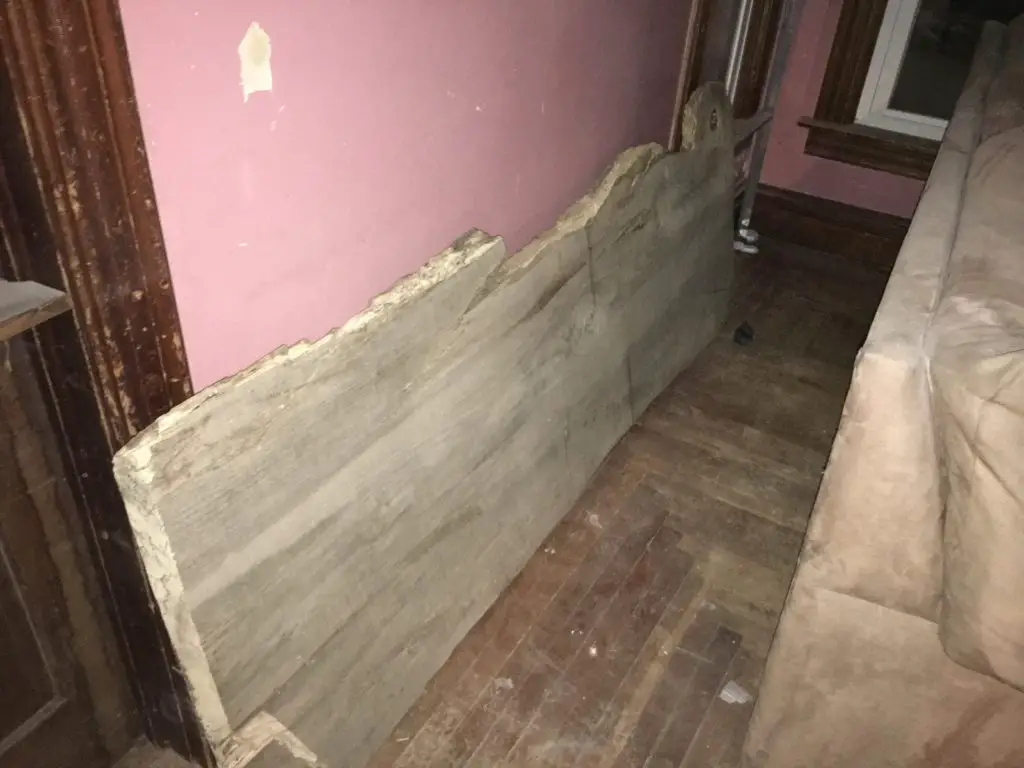
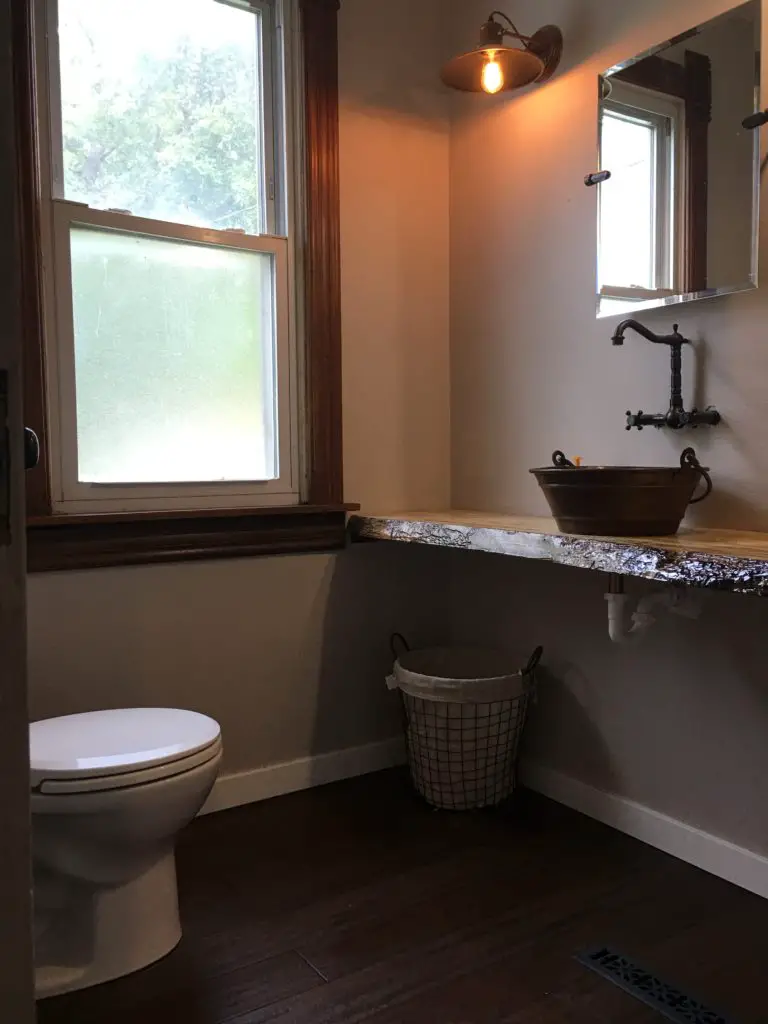
Once the drywall was hung, and the seams mudded and sanded, we were able to start building the bathrooms’ custom vanity. We purchased a rustic, rough-sawn live edge slab of wood, and cut it to the correct length and width. We cleaned the wood slab thoroughly, and lightly dusted it with the air compressor to clear all the cracks and crevices. We reinforced the wood slab with some metal flat stock on the bottom side towards the front, and mounted angle iron around the back and sides to the bathroom wall. We wanted the countertop extremely sturdy, just in case anyone would lean or put weight on the vanity. We then dry-fitted the vanity and laid out the hole for the sink drain. The copper pail vessel sink (Amazon affiliate link) has a concave bottom (so water doesn’t pool in the bottom), so we routered out the top of the vanity for the sink to fit properly. Once everything fit well and was ready to be sealed and mounted, we applied a two-part epoxy (Amazon affiliate link) to coat the entire top and live edge. The temperature needed to be 70 degrees or warmer when applying the epoxy resin, so we cranked the furnace for a day or two to let it fully cure. Once cured, we mounted the vanity, sink, vintage faucet, vanity lights, and a pivoting frame mirror. (The faucet sat so high above the copper pail vessel sink, the mirror was too high to be flat against the wall. We found this vintage tilting mirror with mounts that allowed the mirror to be angled towards the floor slightly, for proper positioning.) We then laid the floors, and installed the white toilet.
Farmhouse Trim Installation Throughout the Rooms
Last but not least comes the finish work and home decor of the bathroom. The kitchen, dining, den, and living room have tall, vintage-stained decorative baseboards, while the hallway and second floor have simplistic, white farmhouse baseboards. We decided to install simplistic, white farmhouse baseboards in the powder room, complementing the modern farmhouse style. We painted the walls “Alpaca” color by Sherwin Williams, which is also painted throughout the rest of the house. This color seems to tie together the dark wood tones of the antique trim, but also complements the lighter knotty alder kitchen cabinets. Since we do not have a closet or cabinet to store toilet paper, I found chicken wire baskets for storage (and it actually holds at least 12 of the mega rolls), complementing the modern farmhouse bathroom decor.
Our Home Powder Room Remodel Cost
The modern farmhouse powder room remodel costs were $1,267.00. Here is the cost breakdown:
| Faucet and drain | $150 |
| Lights and wiring | $200 |
| Flooring ($4/square foot) | $144 |
| Trim boards | $70 |
| Toilet | $210 |
| Vanity and acrylic | $150 |
| Sink | $180 |
| Drywall, mud, and texture | $100 |
| Stain, primer, and paint | $63 |
DIY Home Improvement Projects:
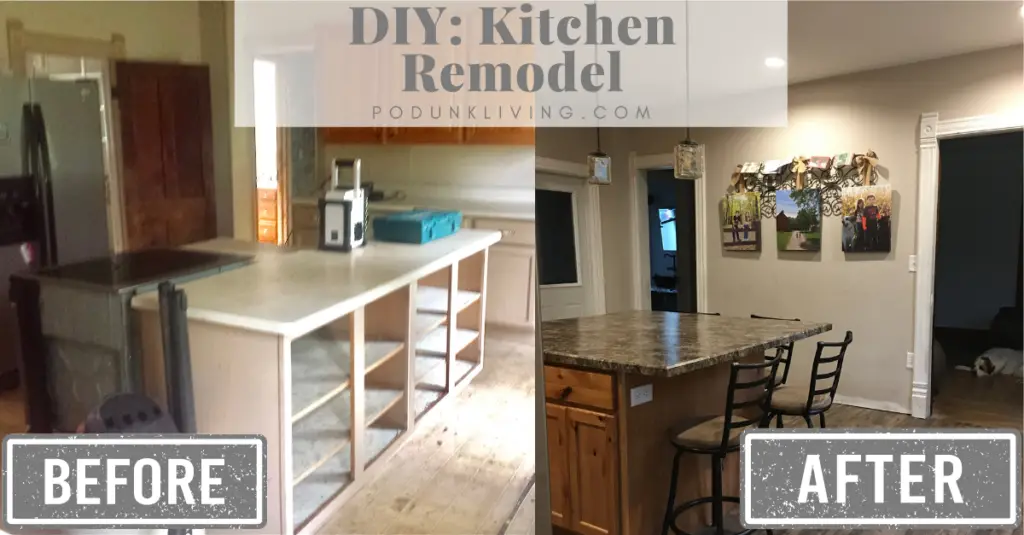
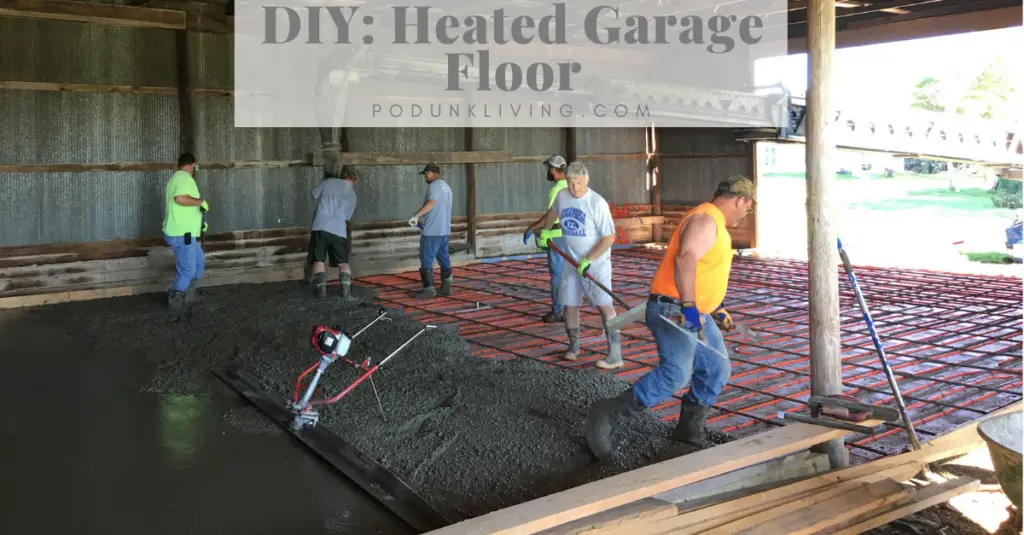
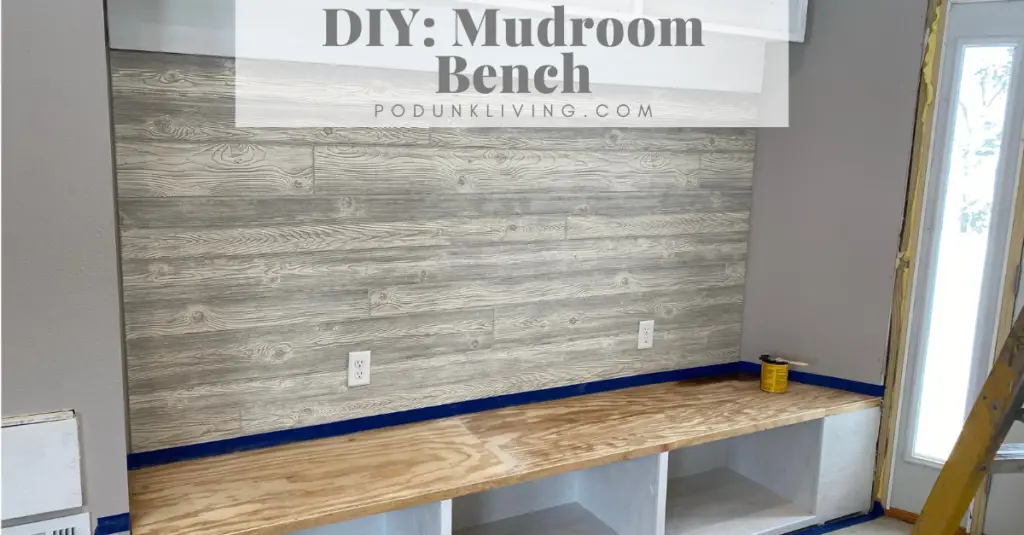
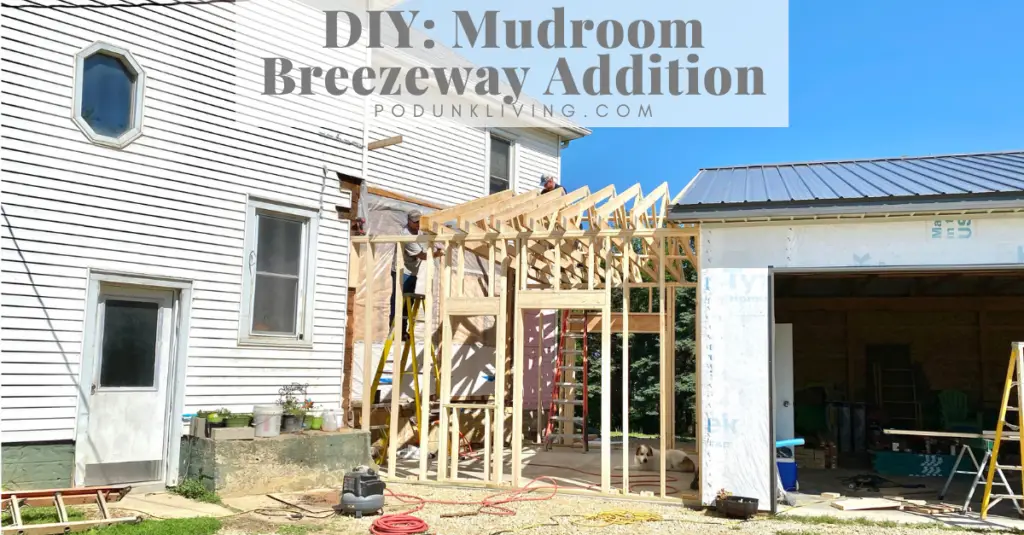
Check out our kitchen renovation, where we stripped our kitchen to the studs, added a massive pantry, and moved the laundry off the kitchen to the second floor. We’ve also built a mudroom breezeway addition, with our step-by-step DIY mudroom benches for coat and shoe storage! For the man cave, see our in-floor heat that we added to the shop.

